current renovation

Treehouse Weeks 17-18: ceilings, doors & steps!

Just a quick photo update!  This week we got the ceiling board and trim installed, as well as the interior doors.  Woohoo!

DSC_0015

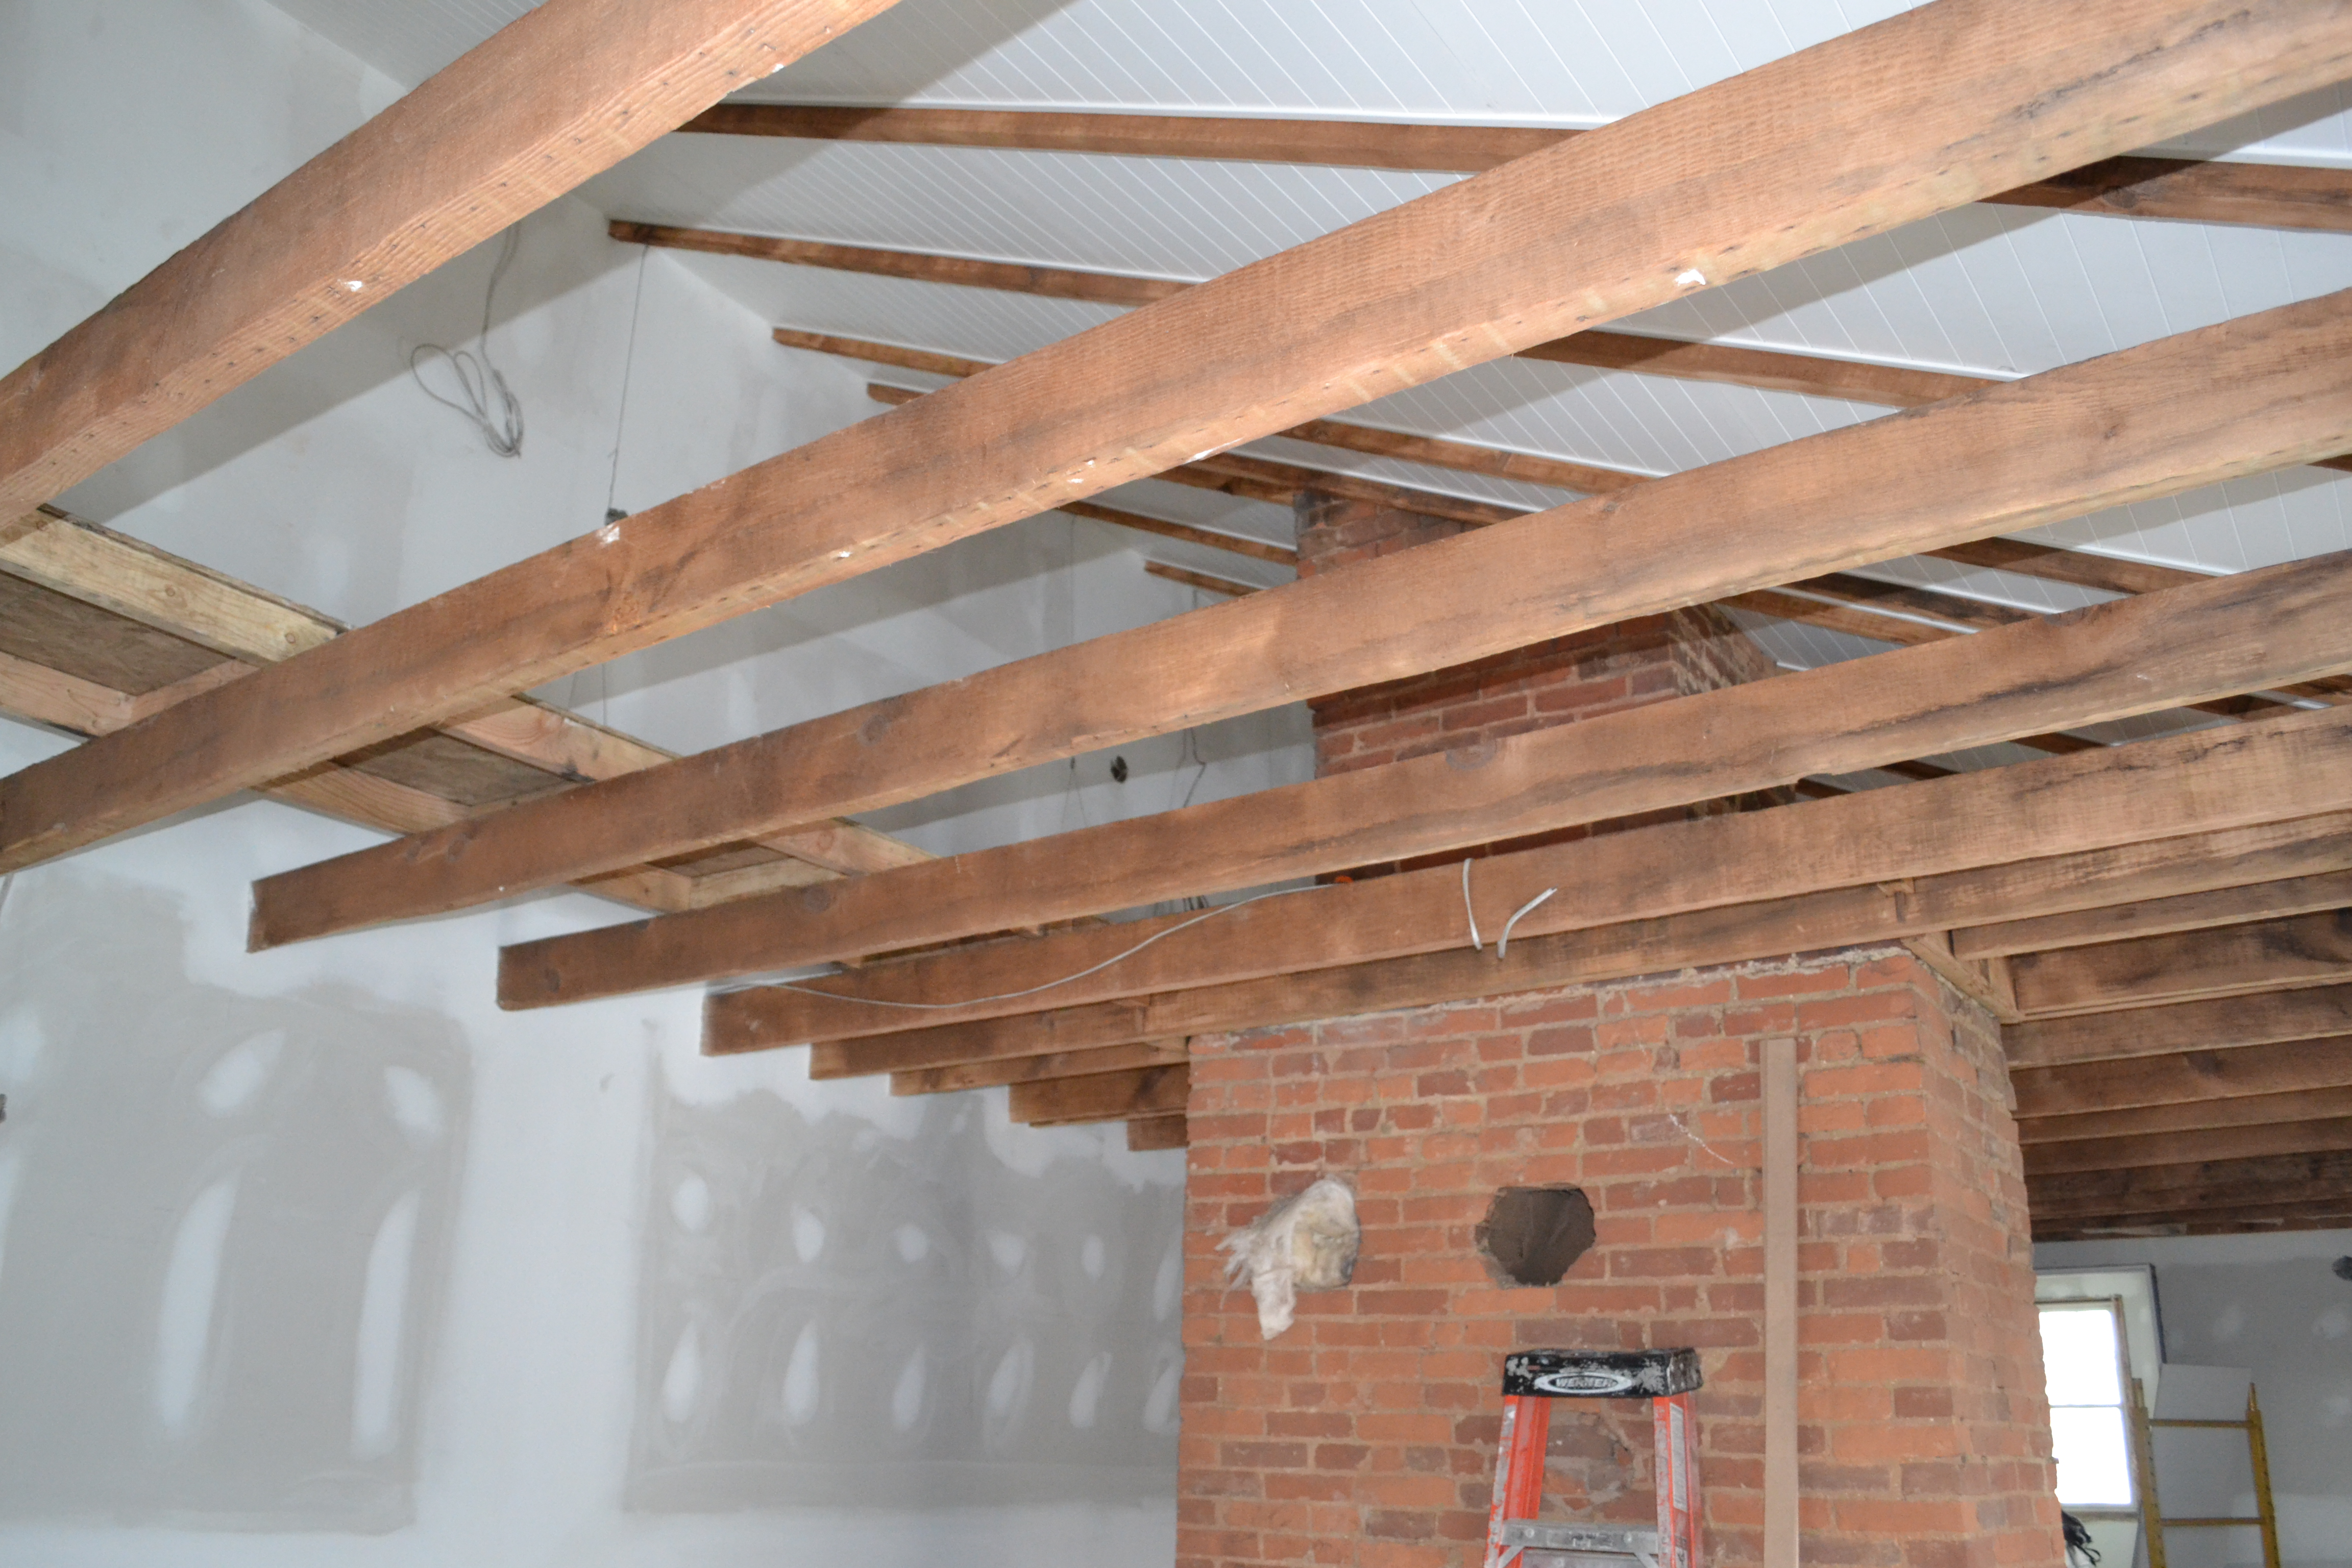
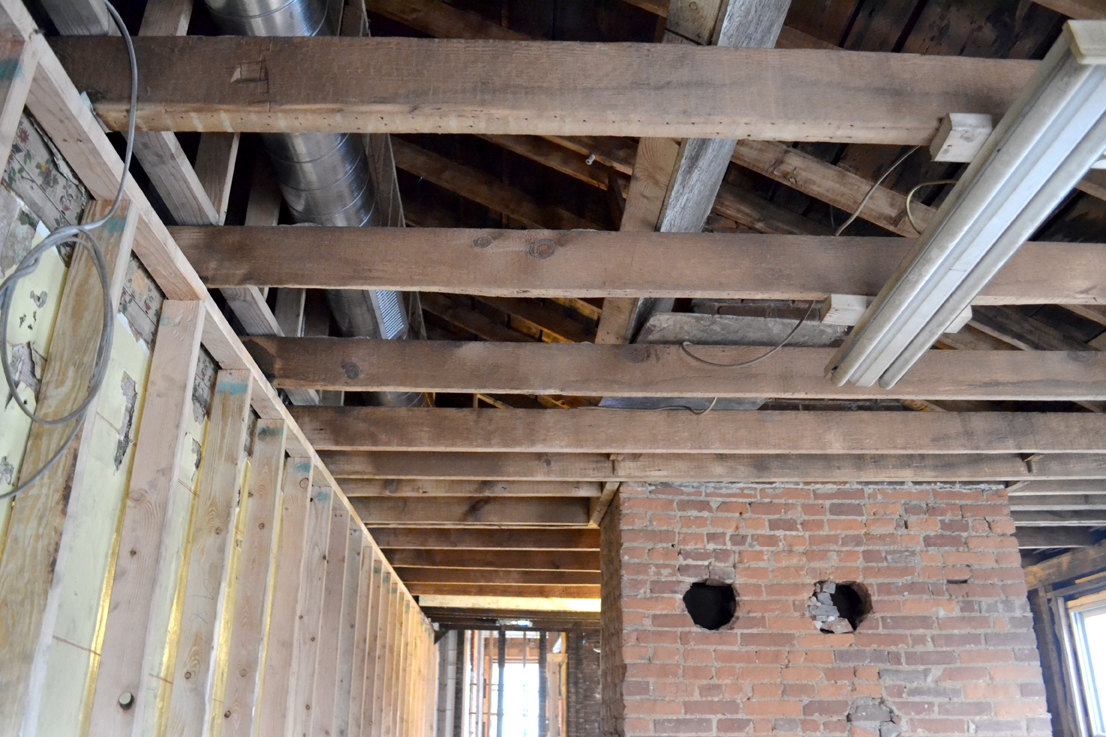
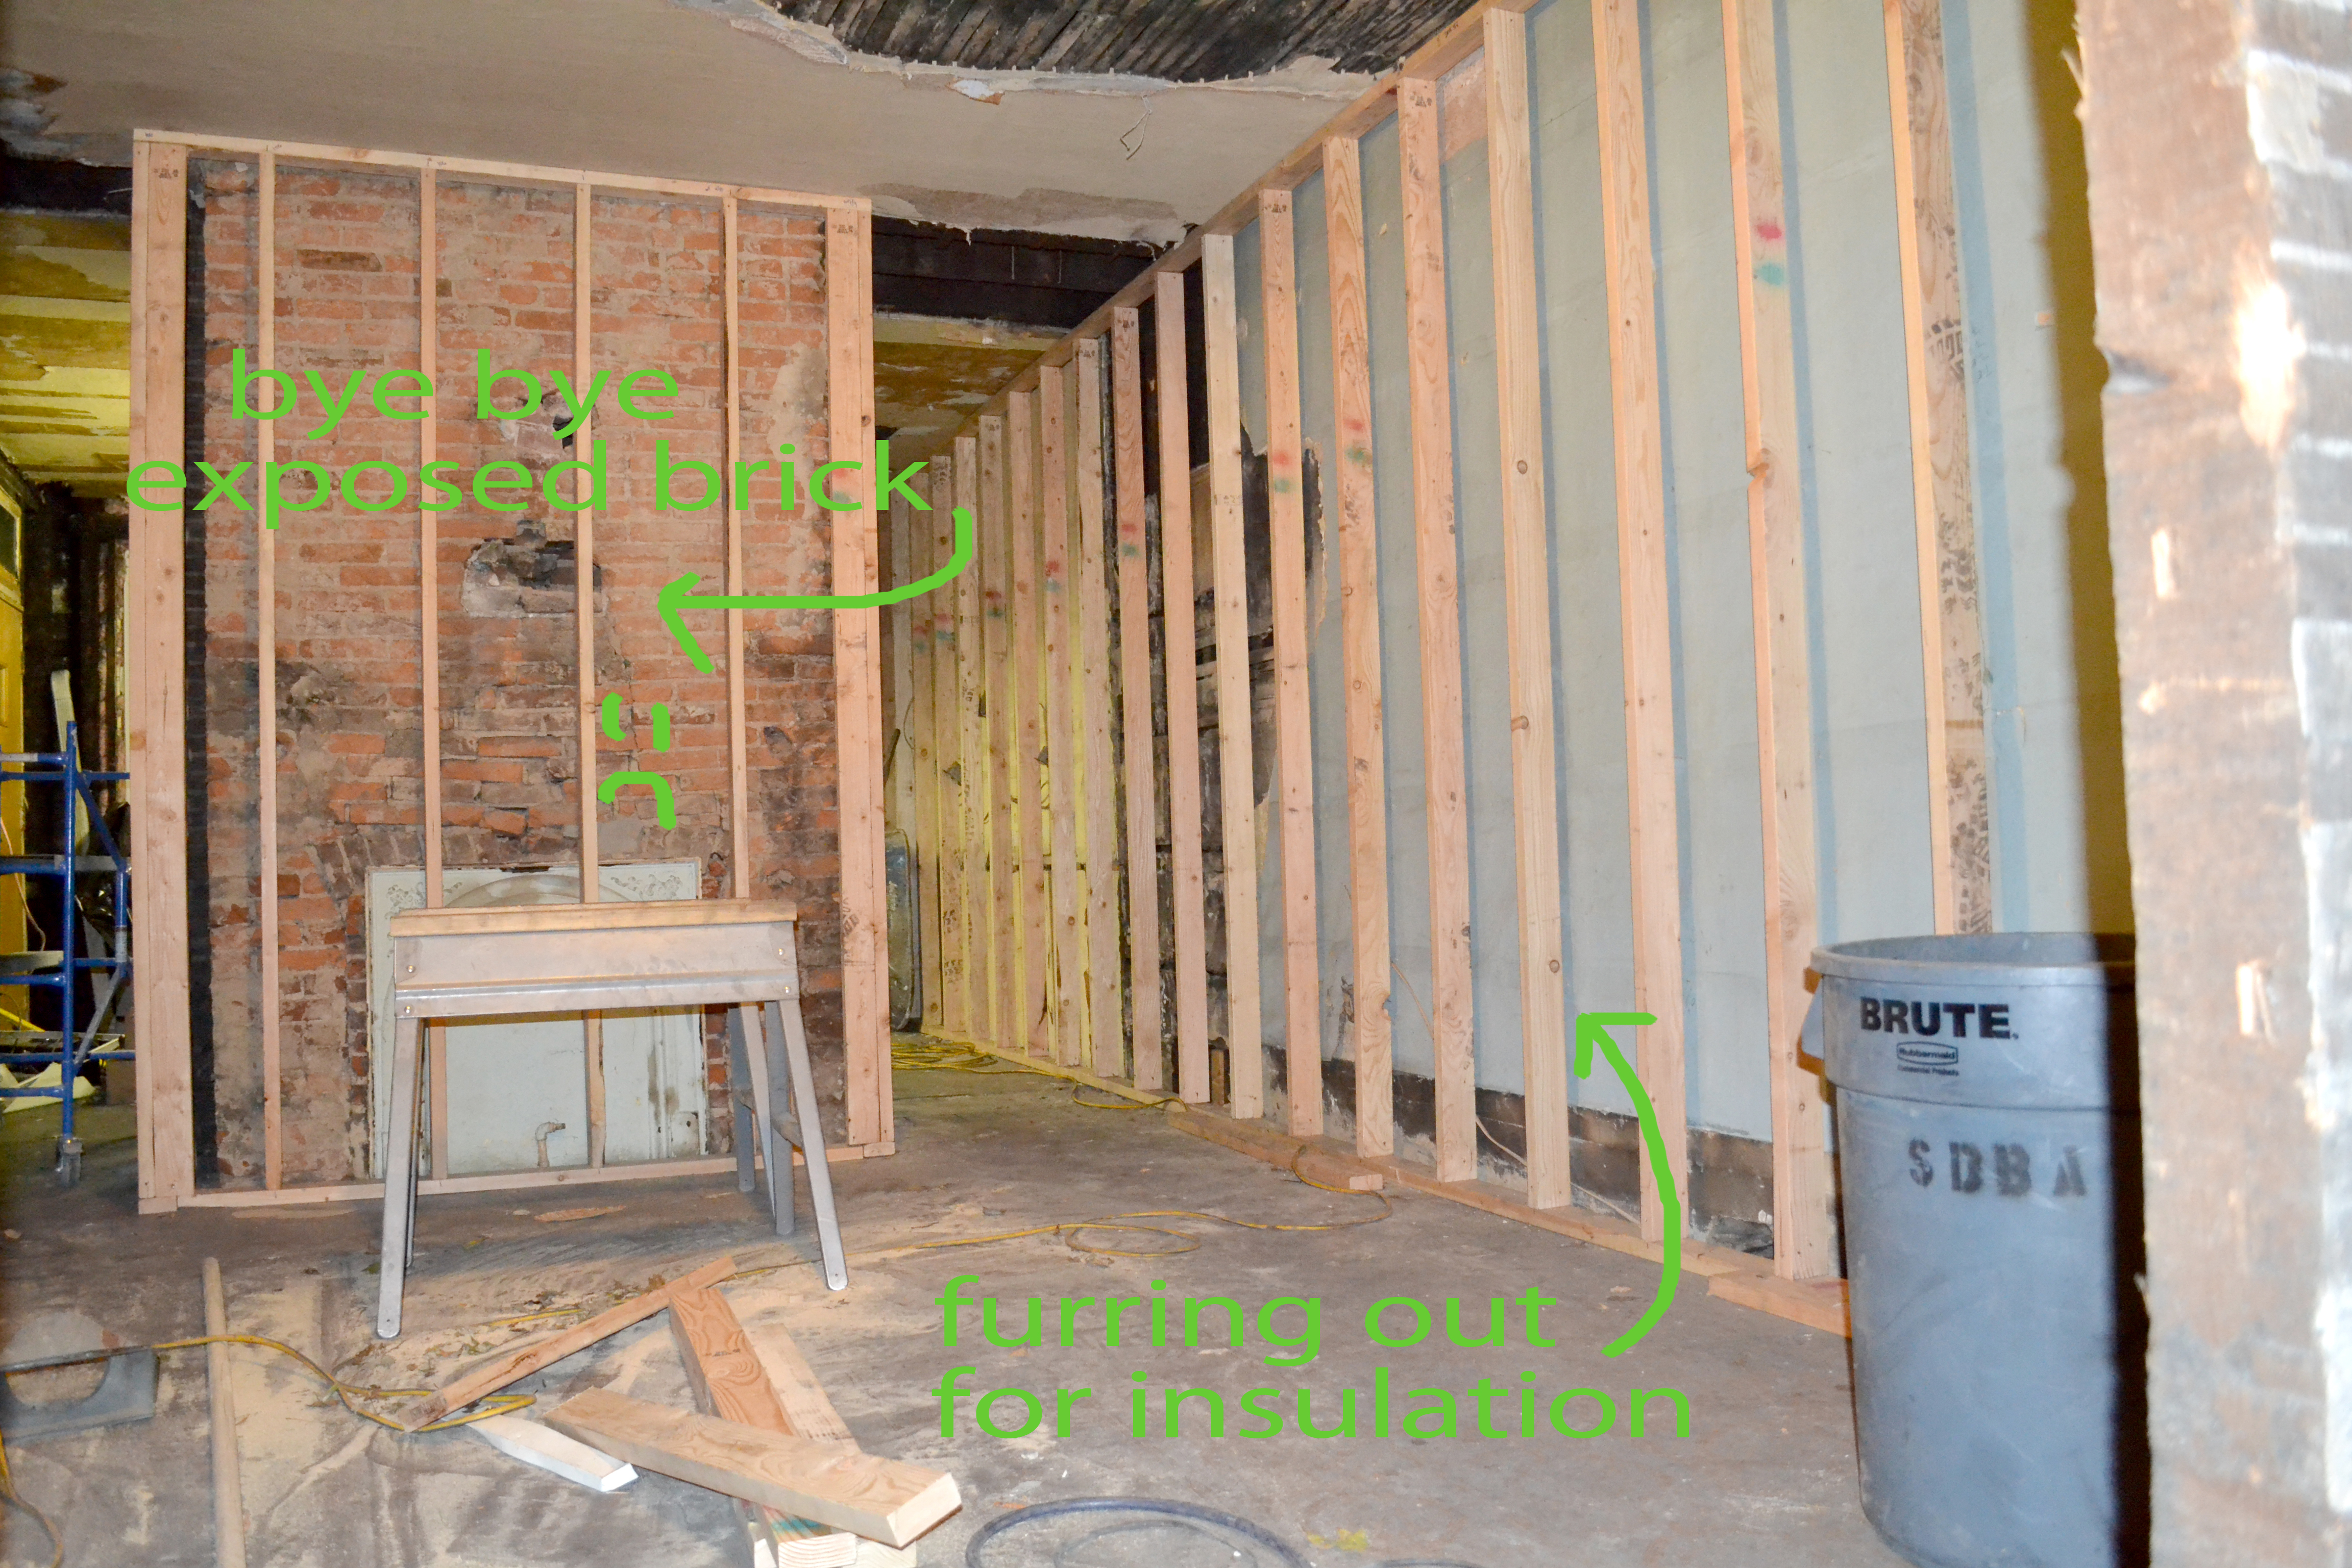
The ceiling looks really awesome if I do say so myself…  we lost a lot of rafter depth due to the space the insulation takes up, so the rafters on the ceiling look kinda spindly, but there’s nothing you can do about that.  Overall it’s pretty awesome looking, eh?

DSC_0011

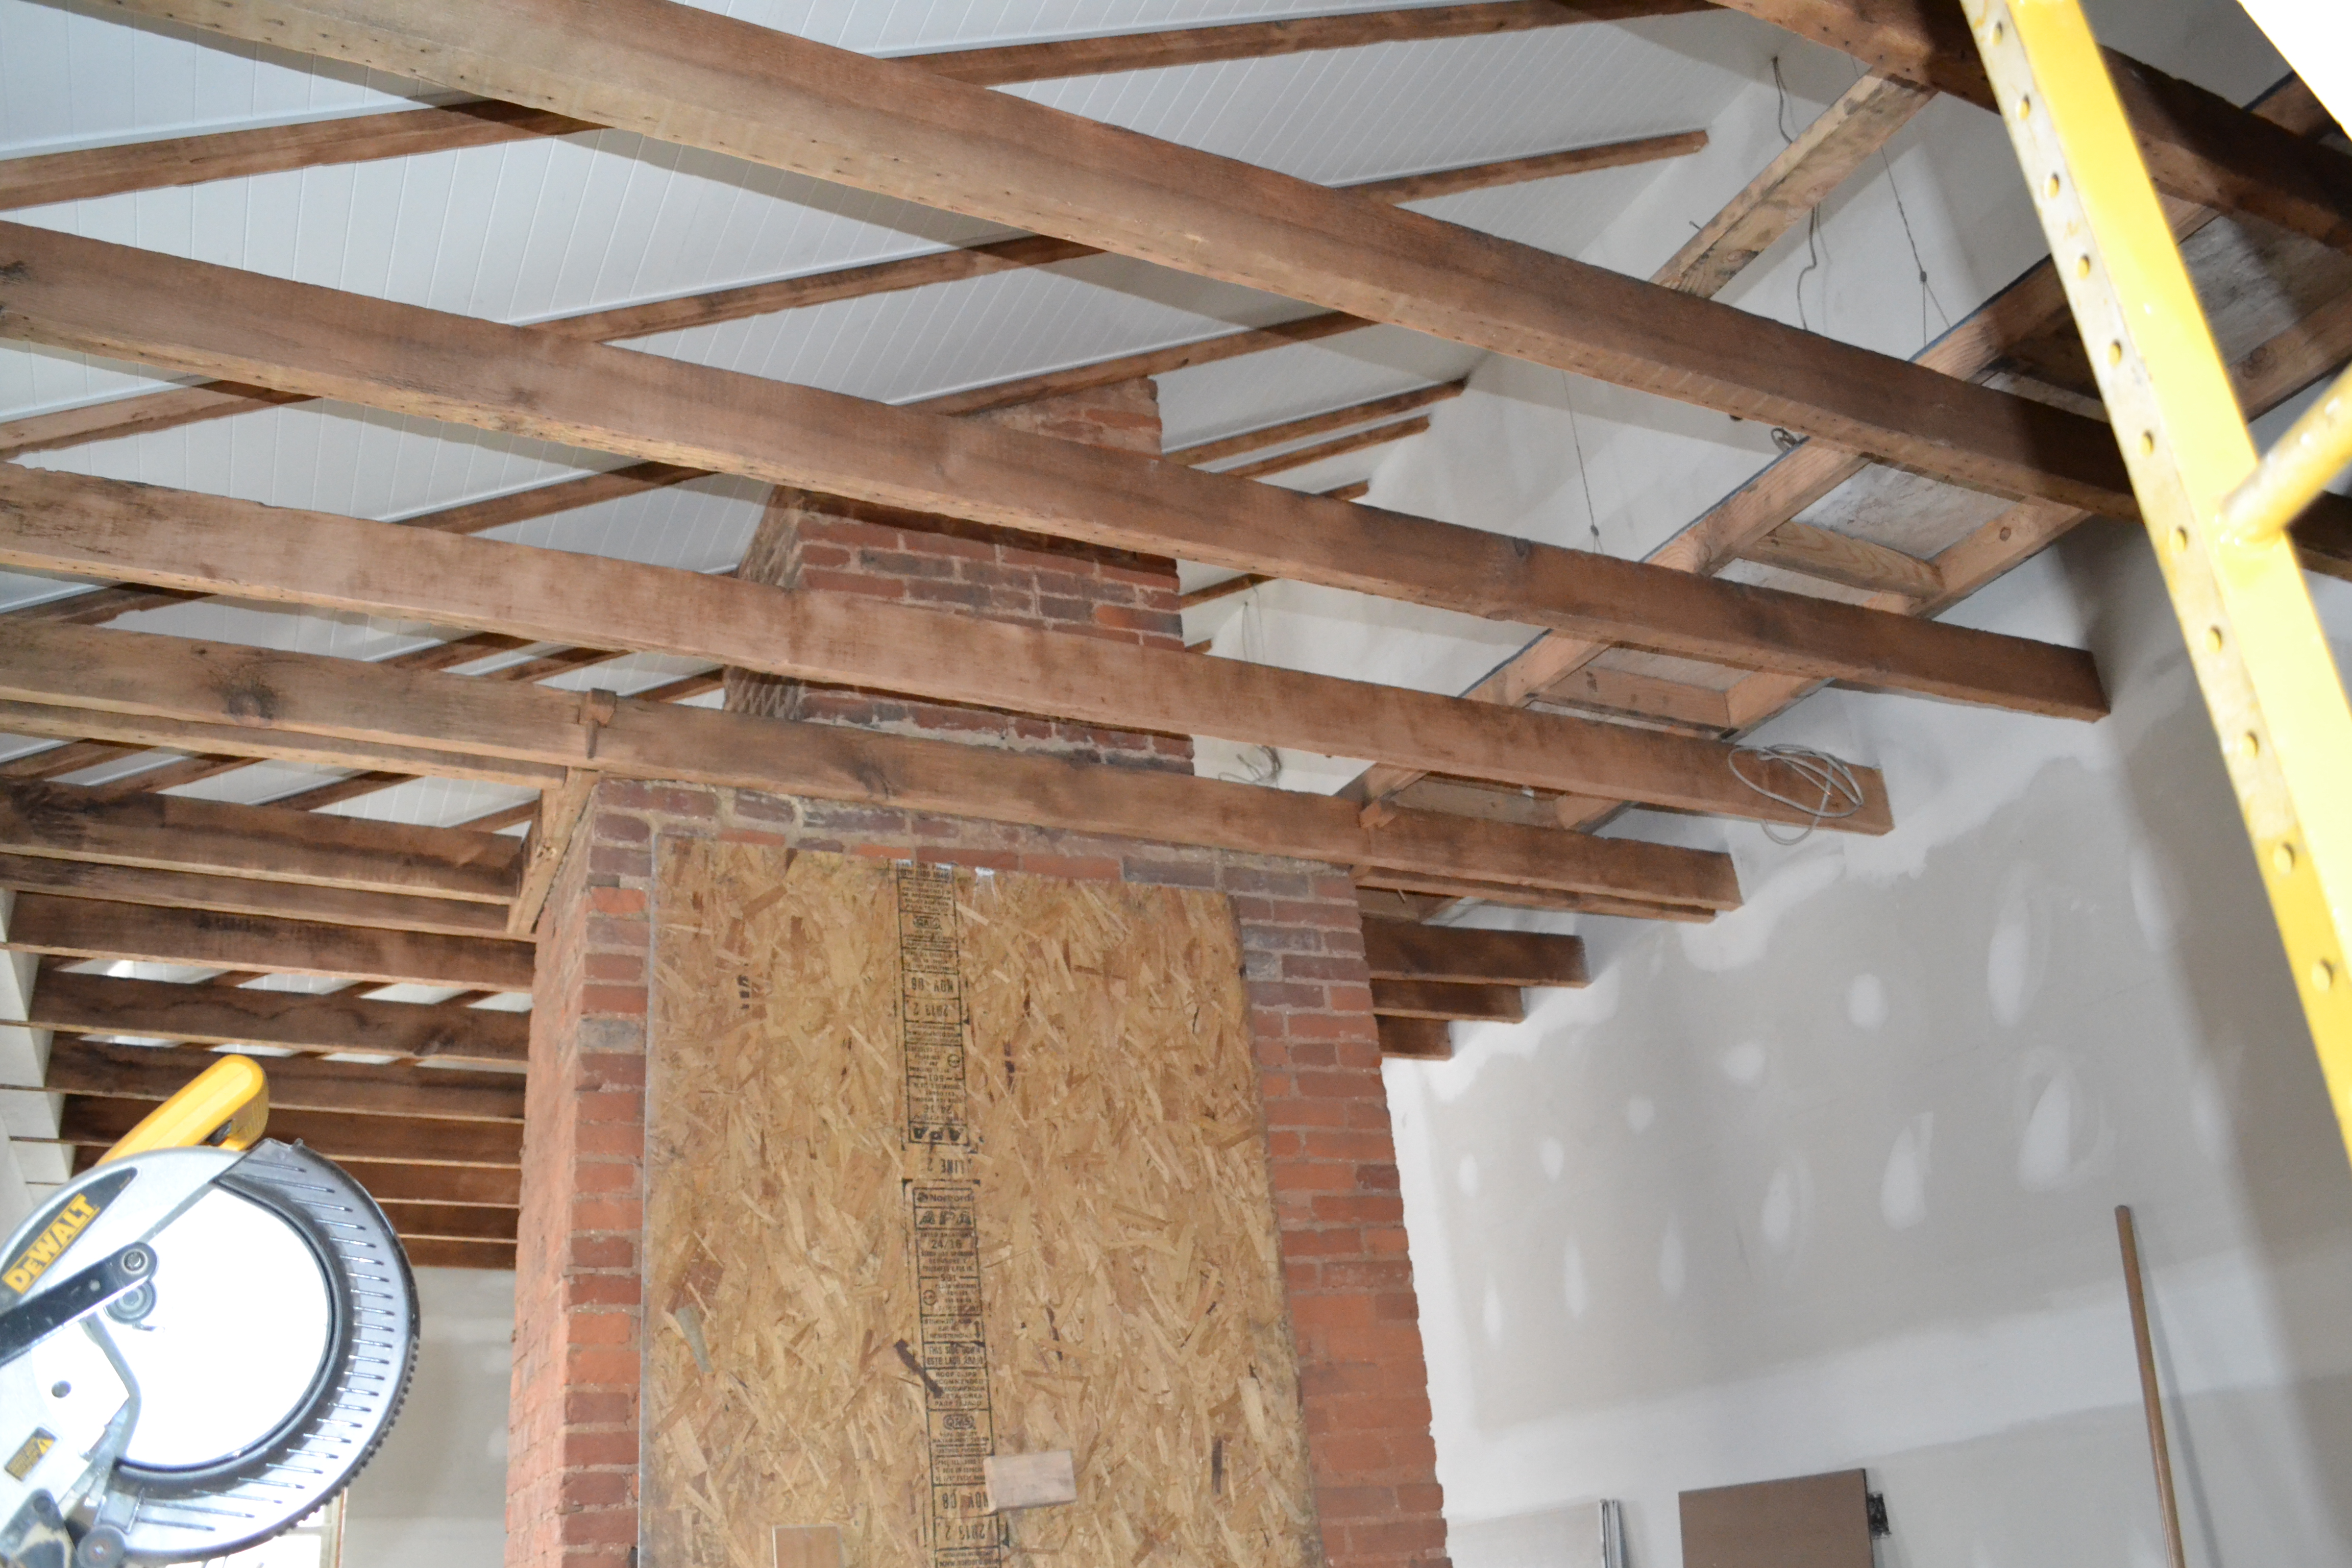
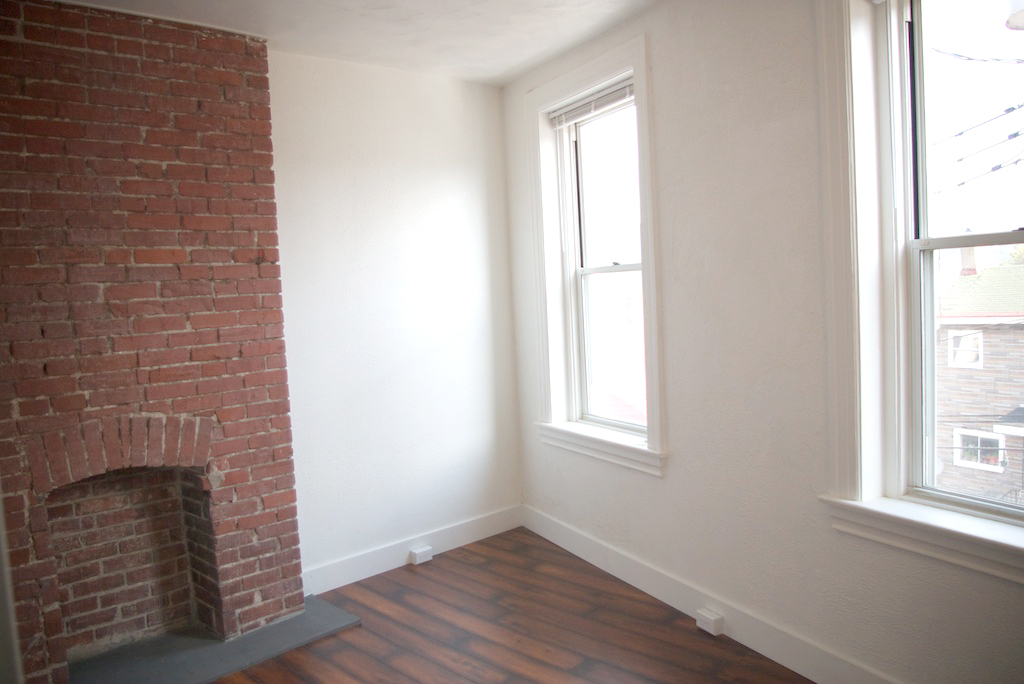
Below is the detailing at the low edge of the roof.  The way the rafers tied in to each other was really a jumbled mess so the guys figured out a slick fix.  These are MDF boxes made to look like a beam.  It’s not what I would have designed if we were starting from scratch, but part of the beauty of these projects is how you work with what you’ve got.  And we’re workin it over here!

DSC_0019

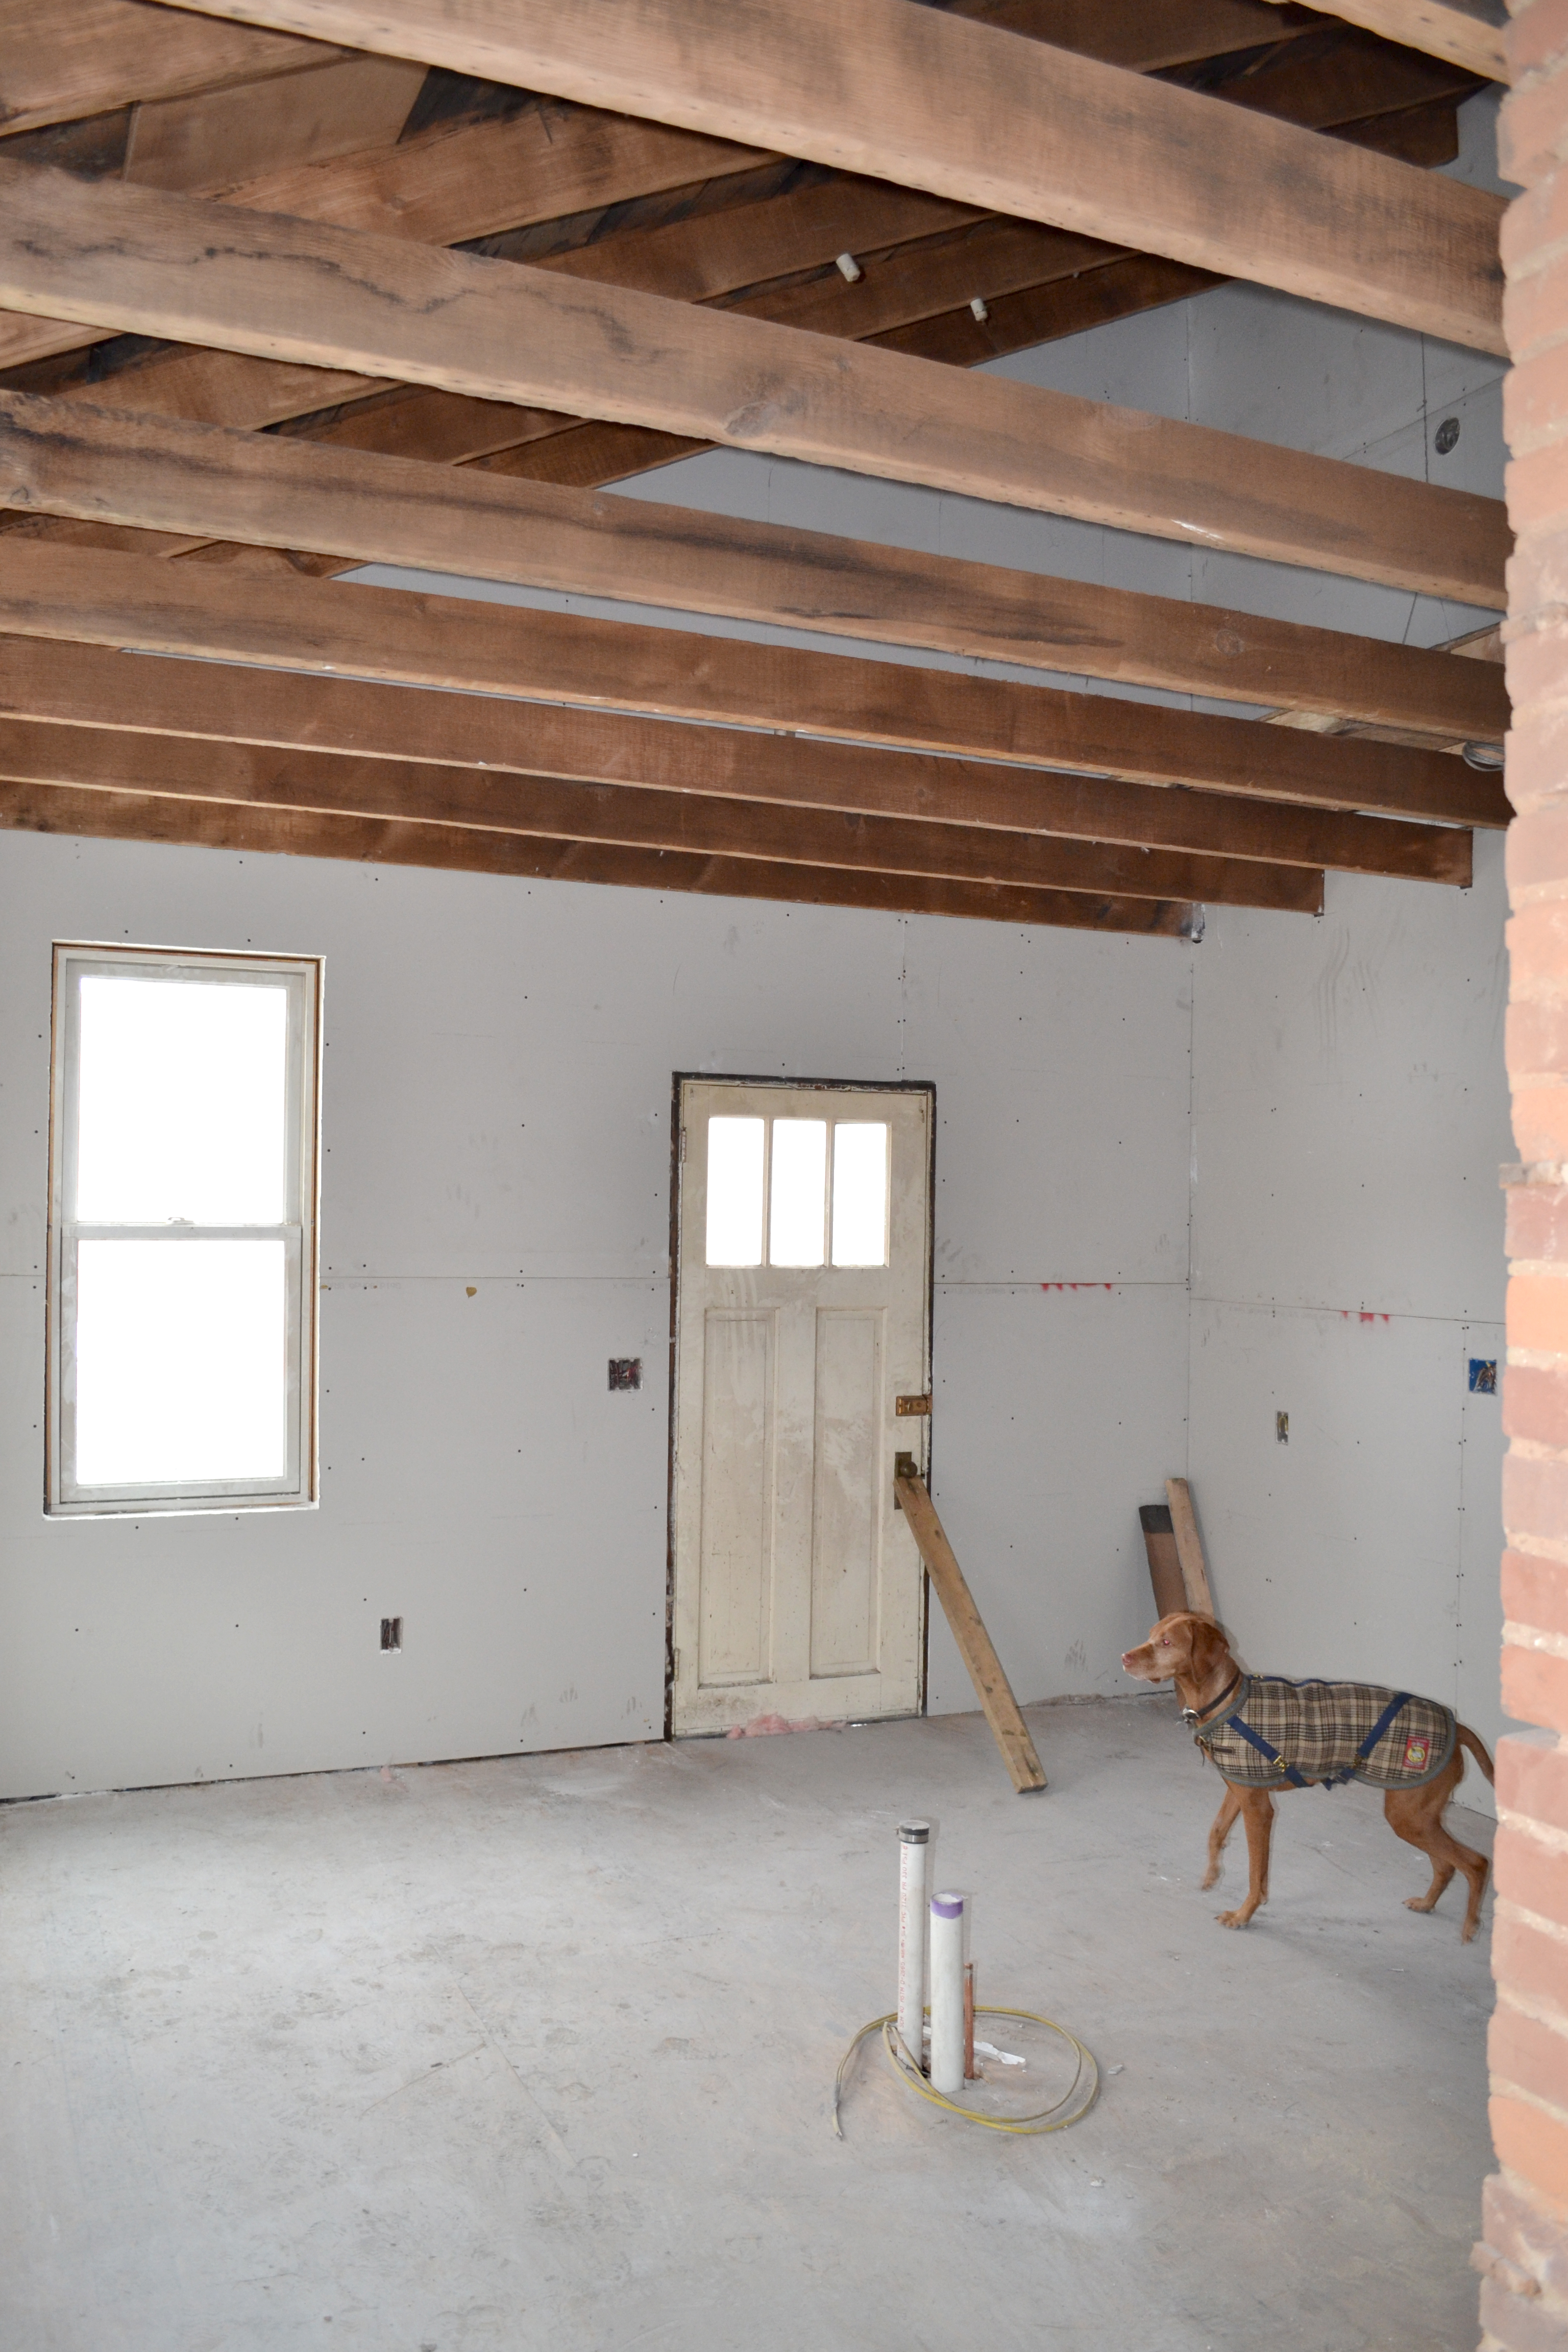
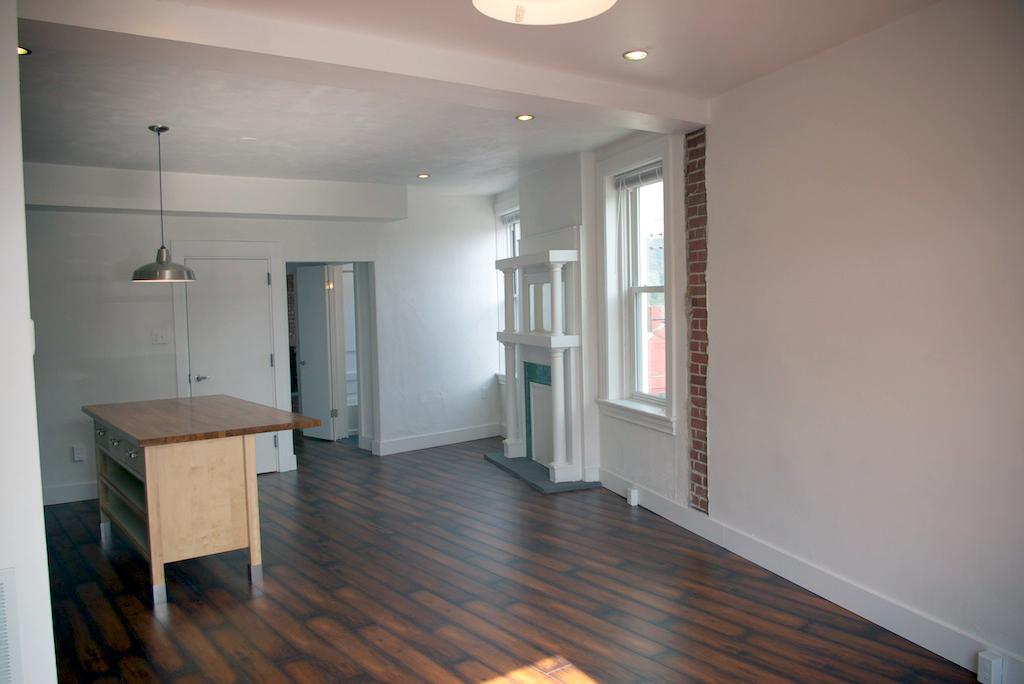
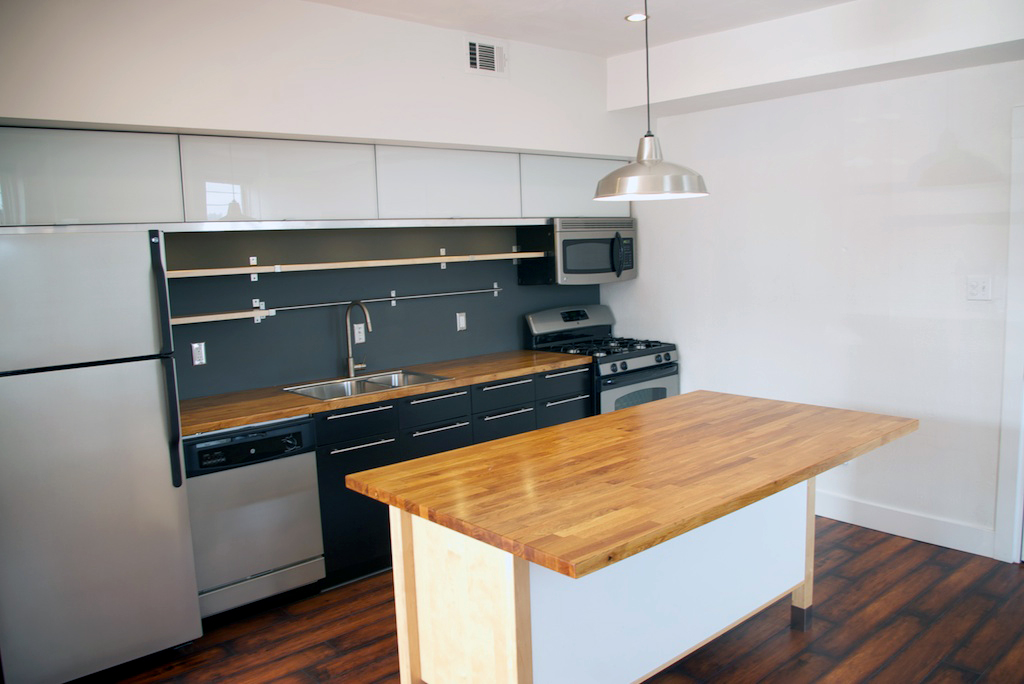
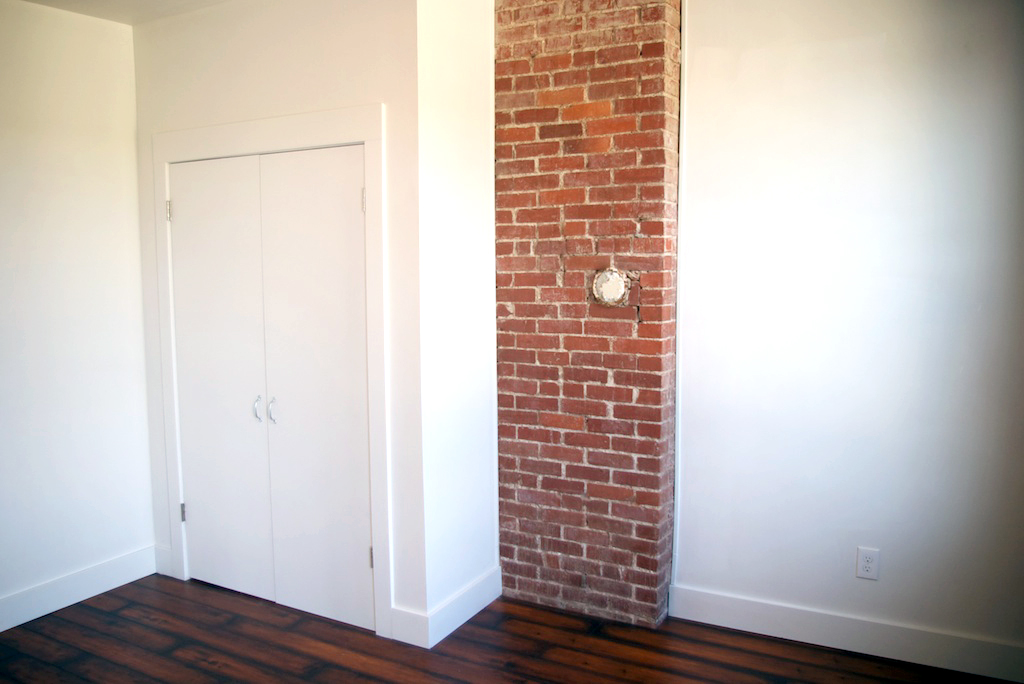
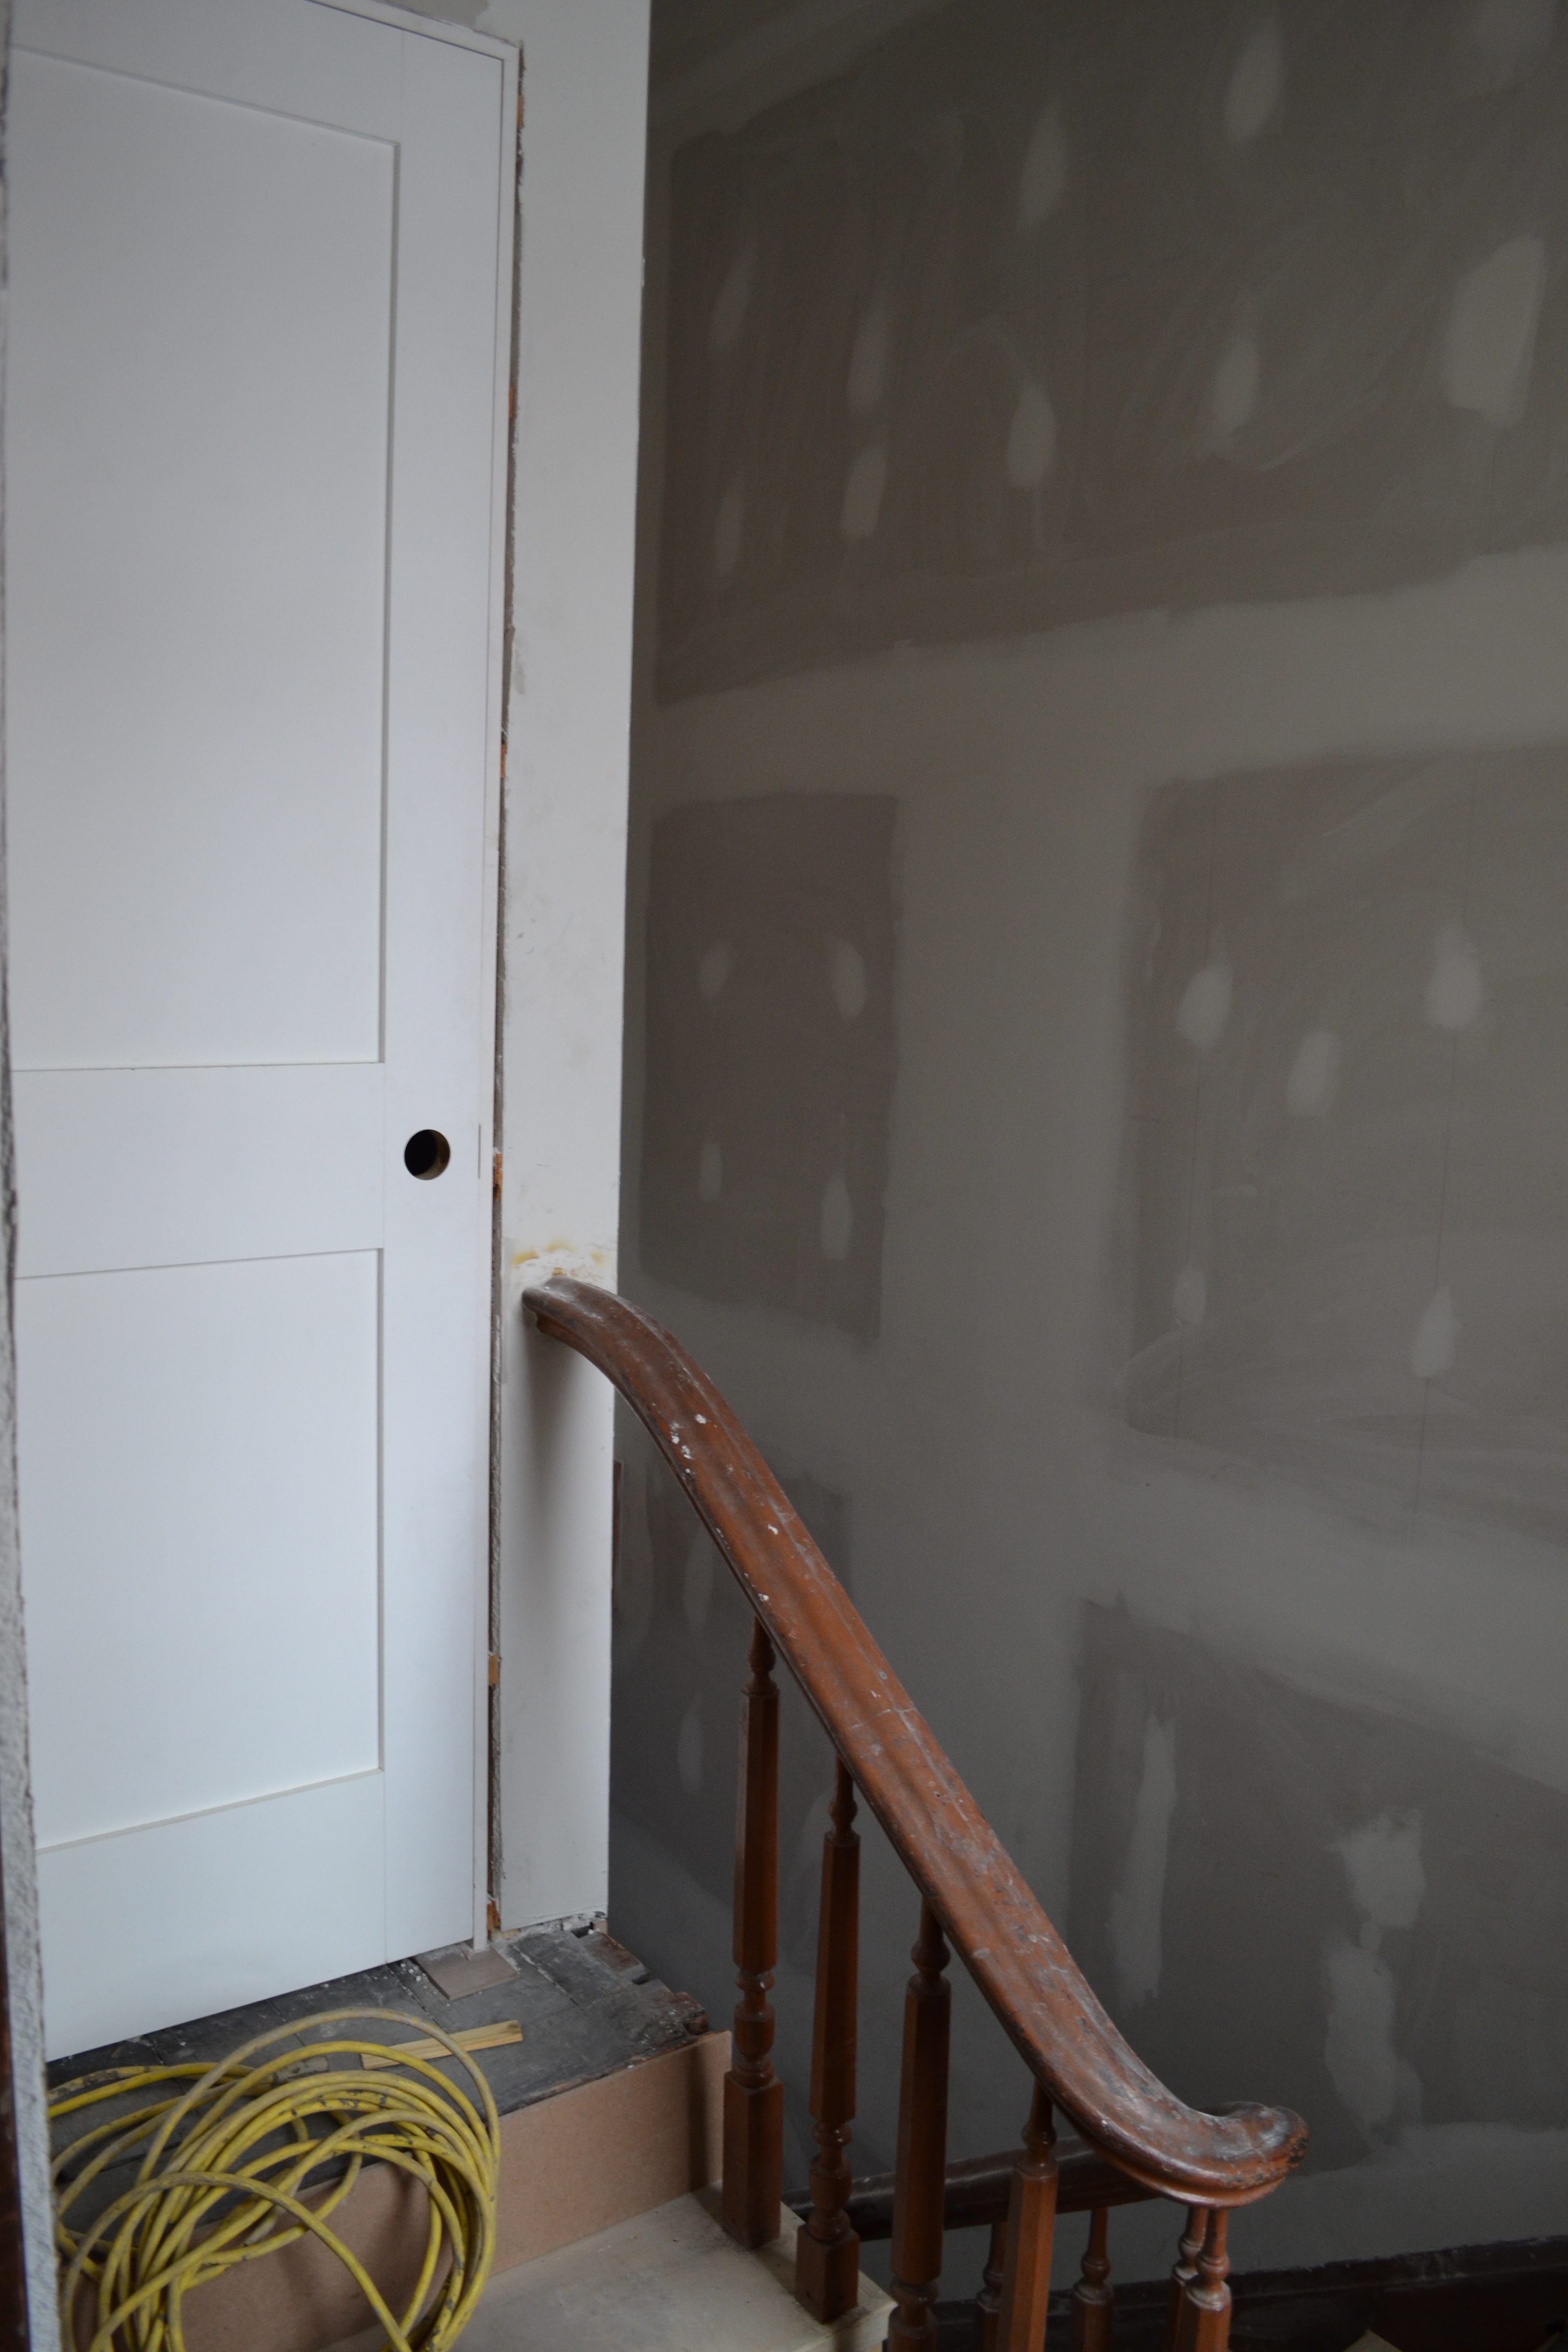
And then there are the doors… it’s funny how having doors on openings makes things feel so much more… civilized.  We had these custom made from Staits Door Company, right here in Lawrenceville.  Keepin it in the hood  =)

DSC_0001

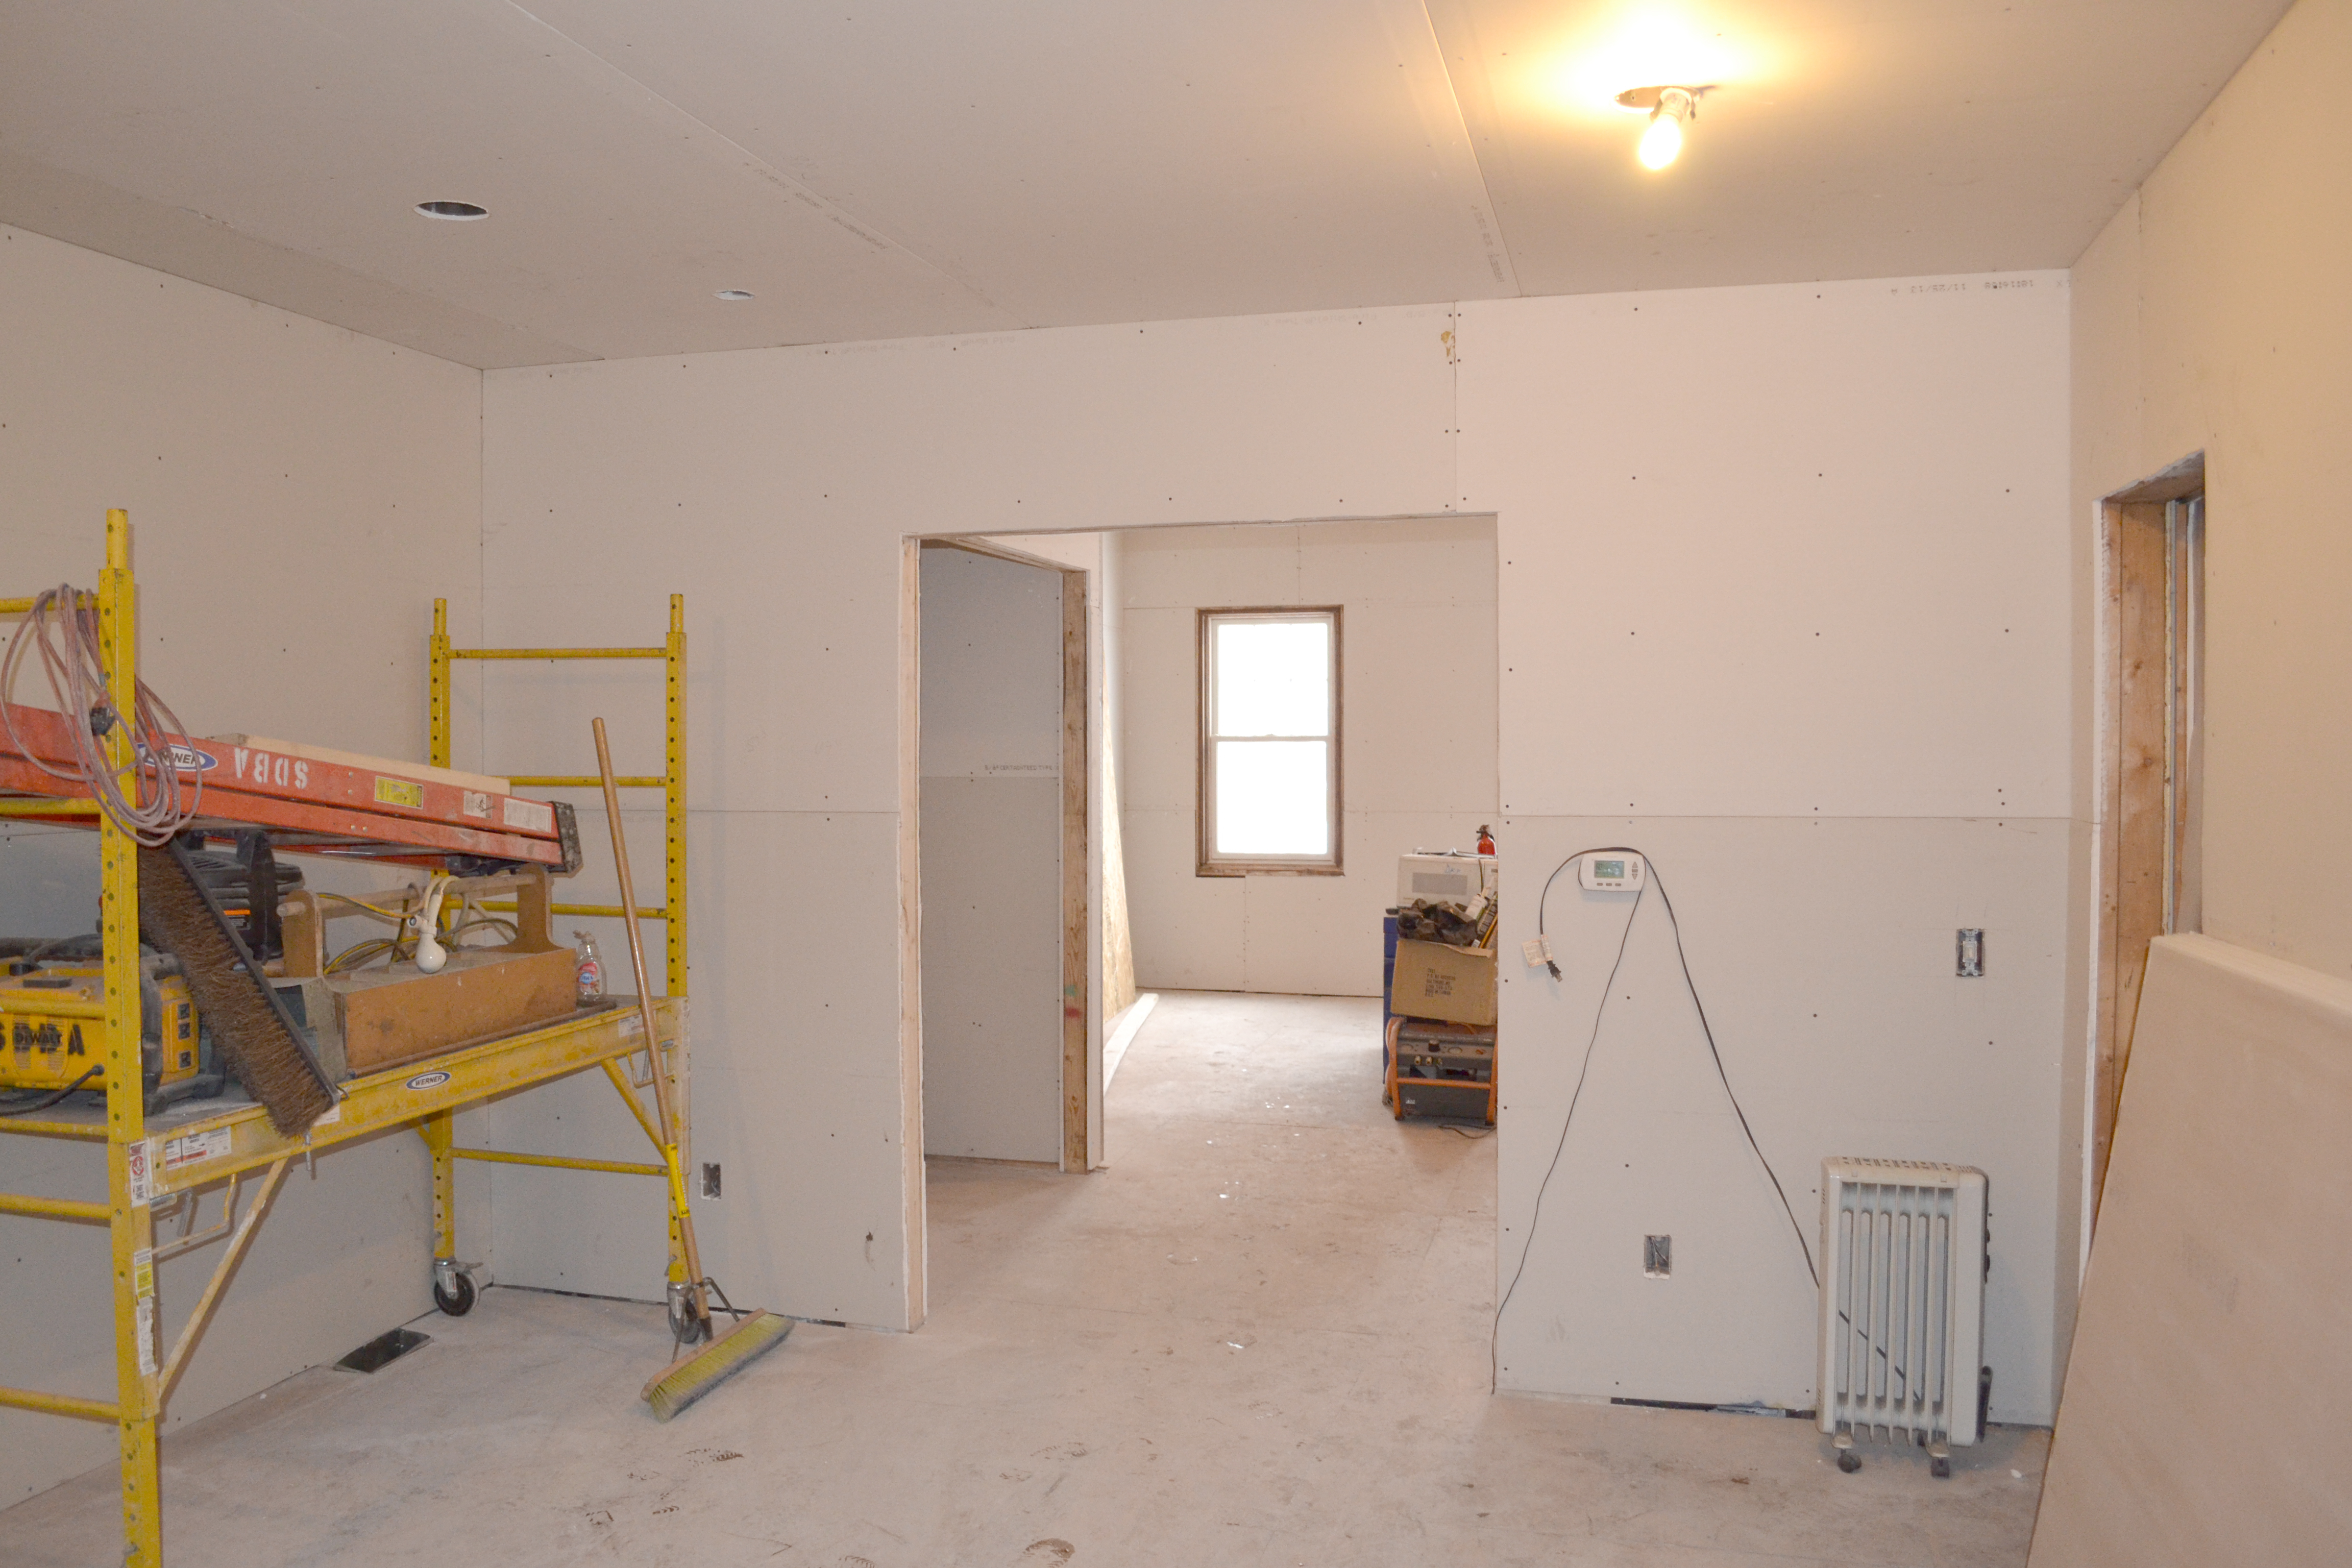
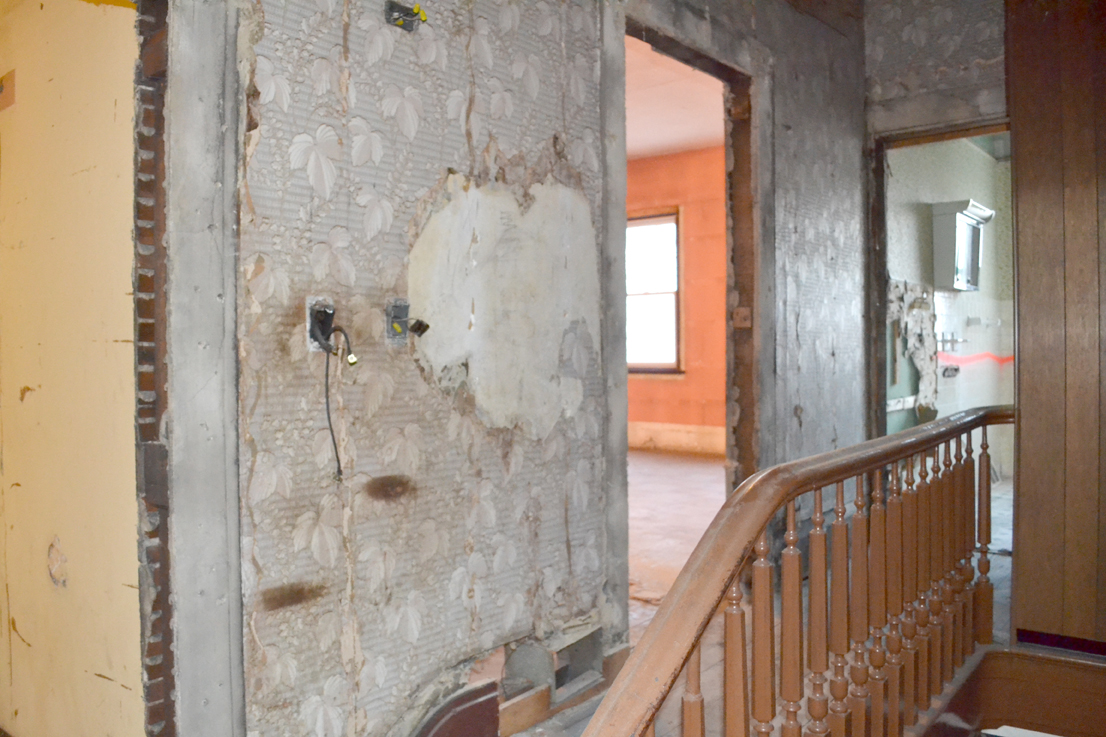
Oh and remember the stairs to nowhere?  They are now stairs to a closet.  Which is still kind of nowhere.  Haha.

DSC_0021

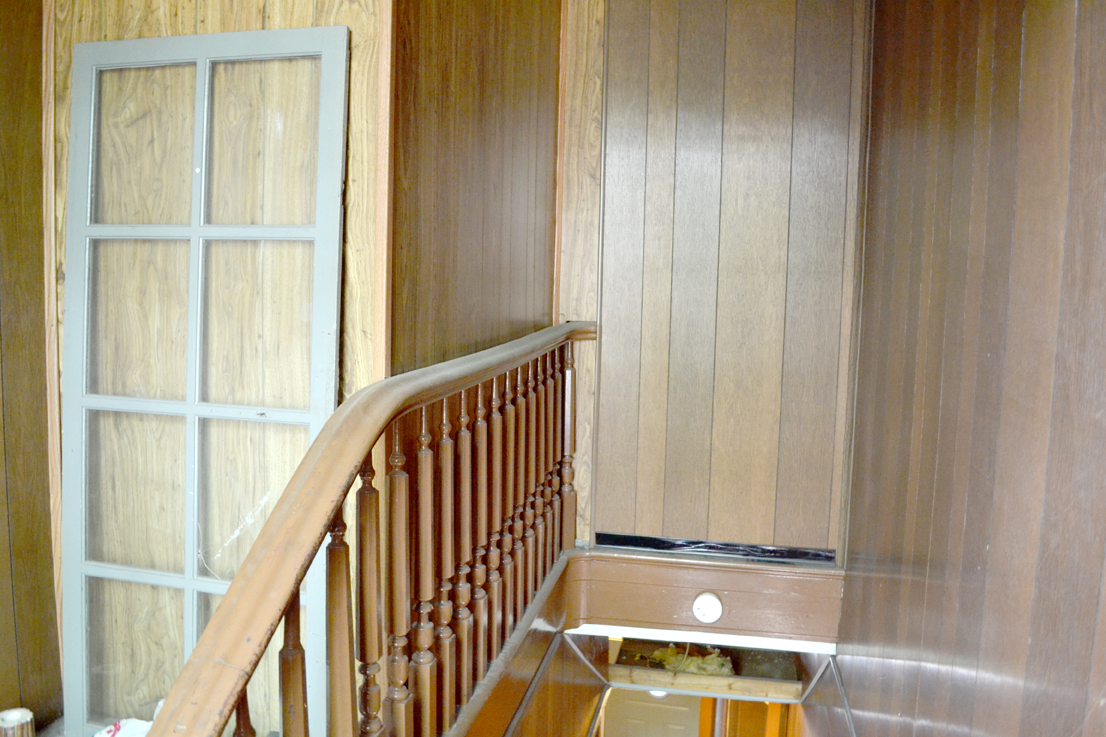
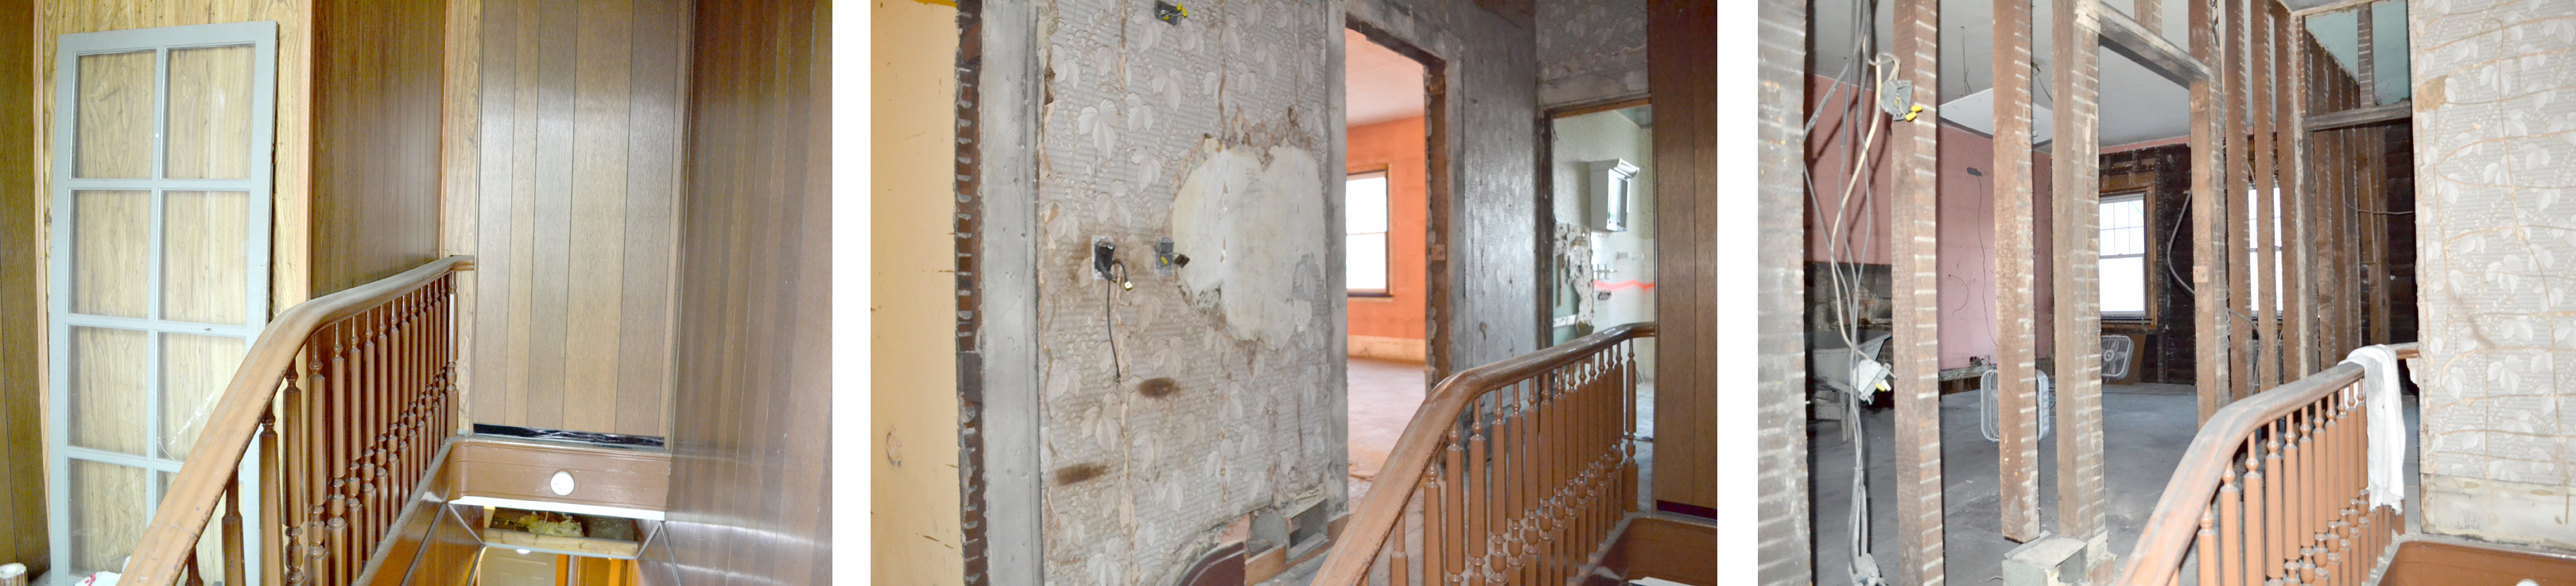
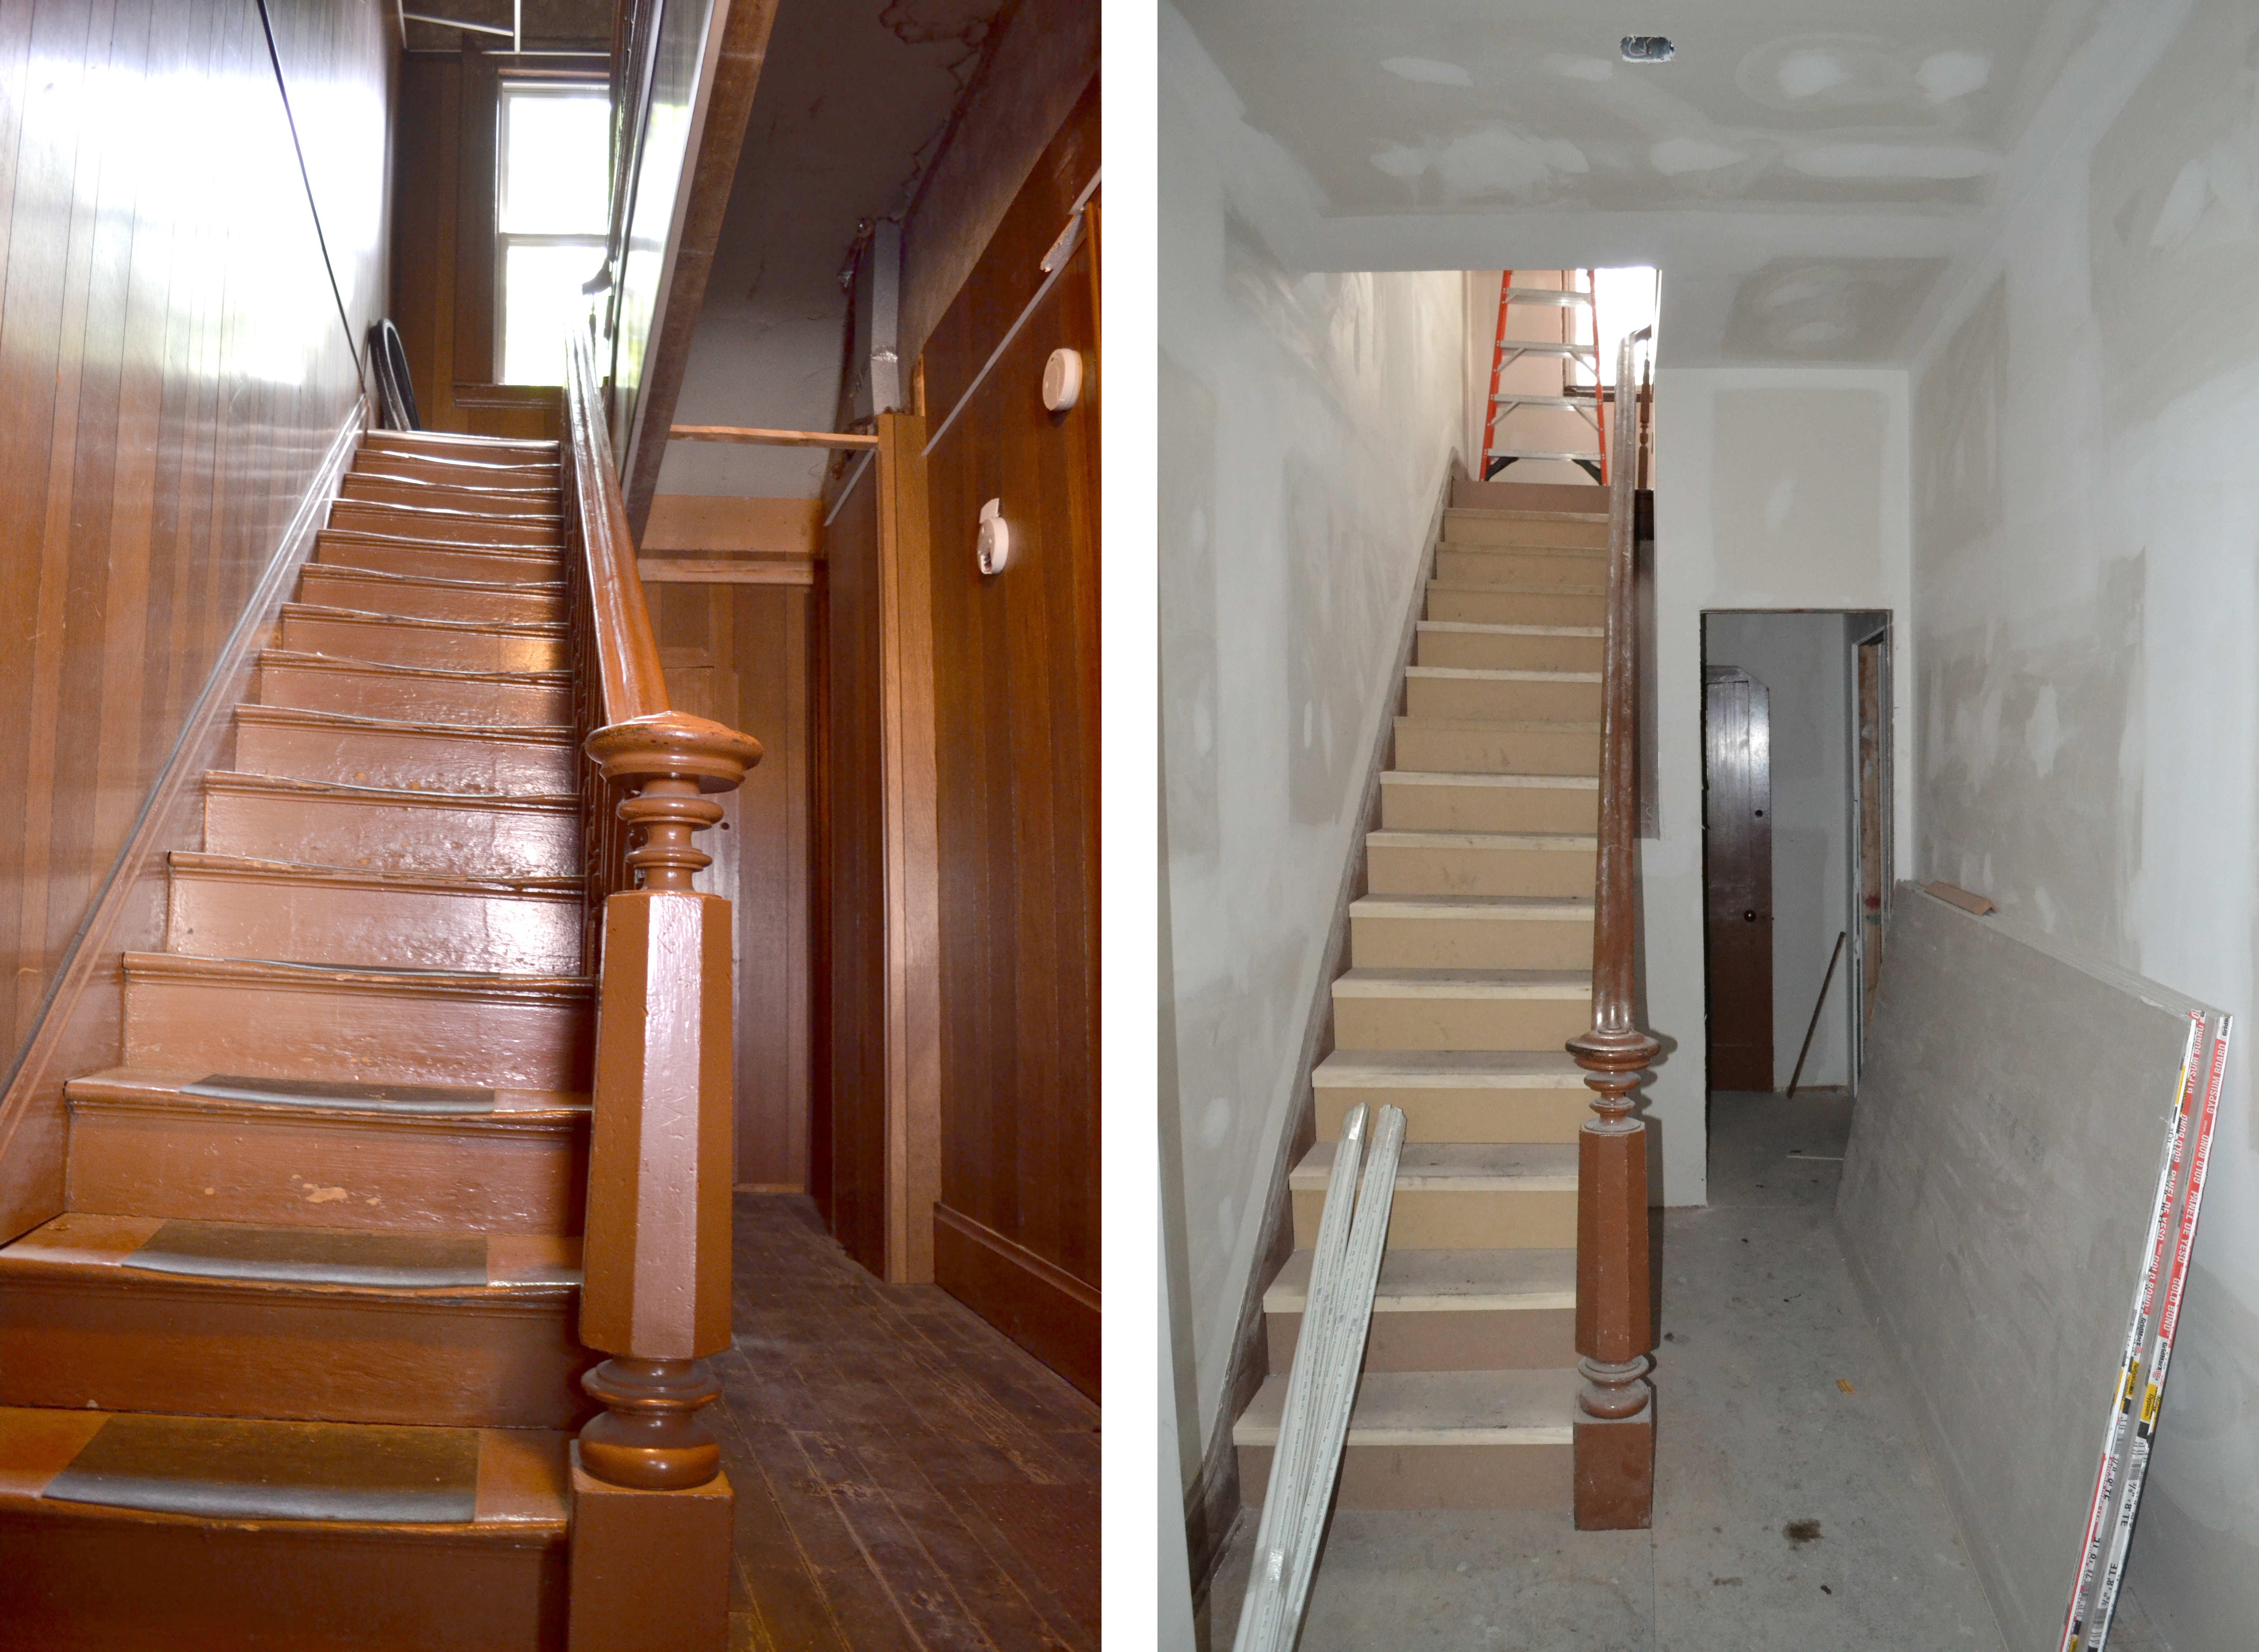
And finally… speaking of working with what you’re given…  The stair was the only original part of the house that was really left, and the only part I was particularly endeared to.  Years of people trodding up and down them had left the treads in really bad shape (check out the picture at left).  Not to mention the fact that they were super crooked due to the house settling.  We jacked up the house from the basement to level things out as much as possible.  Truly fixing the stair would have meant taking the entire thing apart and rebuilding.  I couldn’t afford that, so as a mid-ground fix, we made cap pieces to go over the existing treads… making it look brand new-ish.  Check out the then-and-now below.

stair then and now

DSC_0026

And there you have it!  Next week the exterior doors are going in… as well as the rest of the trim, and PAINT!  I can’t wait to see the rest of this little place come together, can you?

Treehouse Weeks 8-16: still at it

I haven’t given you guys an update in… a really long time.  Don’t worry though, we’re still at it!  Between weather, inspectors, and a pesky zoning hearing we’ve been pretty busy and we were finally able to close up the walls last week.  This is my second favorite part (right behind demolition, which holds the #1 spot)  because you really get an idea of how the space is going to feel, and in this house especially, how the light is going to work.  I’d say the major focus of most of my design decisions was to bring as much light as possible into this house, because it was really dark and, dare I say, sad.  It was a total relief to see the place light up thanks to the new layout and walls that are no longer sheathed in dark wood paneling.  I’ll spare you any more words- check out these pictures, and a little “Where’s Waldo?” featuring my dog Ossie who came to check out her future home =)


2nd floor living rm 4

2nd Floor Living Room… check out that high ceiling!  The spiffed up joists really pop against the white walls.  The ceiling still needs to be insulated between the joists, then we’re finishing it with bead board to mimic real roof sheathing boards.


joists

I almost made it through this project without lifting a finger, but at the last minute I decided that we should have some extra joists exposed.  The problem was that they were black with steel mill soot and the blasters had already come and gone (oops)  So I broke out the tools and sanded the grit off.  It doesn’t look quite as good as the cob blasting, but it’s good enough, and saved me a $500 blaster man return trip.

2nd floor living rm 3

another look at the living room, because… yeah.

2nd floor living rm 2

before drywall

2nd floor living rm 2b

after drywall 

2nd floor living rm 1

hey Waldo

2nd floor living rm

before drywall

renodog

after drywall

2nd floor kitchen

2nd floor kitchen

2nd floor bedroom

2nd floor bedroom

2nd floor bedroom 2

2nd floor bedroom

2nd floor bedroom 4

2nd floor bedroom, looking towards living room

2nd floor bedroom 3

2nd Floor Bedroom looking towards walk-in closets and in-unit laundry!!

1st floor living rm

1st floor living room looking towards bedroom

1st floor bedroom

1st floor bedroom looking towards living room

deck

looking down on the deck from the stair landing… got a tiny start on this before we got frozen out!

And in case you were counting, there are 6 Ossie sightings in this post.  Did you find them all?

Treehouse Weeks 6 & 7: slow and steady

We’re plugging along over here at Treehouse… with all the stuff that takes a long time, and doesn’t make much of a visible difference (plumbing, HVAC, electrical)  Exciting changes to note, however:  a new concrete patio, another wall opened up, some furnaces and duct work, a new baby roof, and most exciting for me… some cob blasting!  Check it out:

BACK YARD A FEW WEEKS AGO: (aka Demo City)

backyard before

BACK YARD NOW
Old porch is gone, new patio poured!  This new patio is also the footer for the new deck.  Also notice the Furnace lines to the new furnaces, and the new roof on the little side addition.

backyard now

NEW RUBBER ROOF AT SIDE ADDITION
At some point when this house was split into two apartments, a bathroom was added (it’s the small portion that juts out on the side of the house)… As the guys did the demo I realized all they did back then was enclose part of the old porch and call it a bathroom!  Even the roof over the bathroom was just the original porch, which due to years of neglect was completely rotted and warped.  It definitely needed to be replaced.  Because my new second story deck is going to go on top of this addition, we needed it to maintain a low profile, so we couldn’t do a standard sloped shingle roof.  The guys tried to talk me into shortening the deck and just not have it go over the addition, but that would mean major impact to the layout of the 2nd floor apartment.  As in, I would have to say goodbye to my double-doors-onto-deck dream.  Um… no way!  Instead, I paid a little more and had a rubber roof put on so I could keep the deck in its entirety.

rubber roof

NEW FURNACES
Installed and running… just in time for the cold weather.  It hit 12 degrees here in Pittsburgh this week!  The only thing I can say about these new high efficiency furnaces is that they are loud!  Not at the actual unit, but a whirring sound at the outside exhaust. The furnaces at the loft building are like this too. Not sure how you can get around it, but I suppose that’s the price you pay for a lower heating bill?

furnaces

WALL OPENED UP AT THE FIRST FLOOR APARTMENT

This was super exciting… this is some of the last framing that had to happen and I still shocked myself with the effect.  One of my main design goals in this house is to bring as much light in as possible.  Especially in the first floor unit.  Because of the stairwell and bathroom, there are very few windows on the side of the apartment, which kind of made that middle living room into a cave.  By opening up a double doorway between the bedroom and the living room, the spaces flow together… making that middle room way more inviting.  I’m not going to lie, my heart fluttered a little bit when I saw this!

first floor framing

(what it looked like before)

first floor framing before

SAND BLAST GALORE

I’d say the biggest splurge on this project (other than the deck) is opening up the ceiling at the second floor.  It would have been much easier to leave the ceiling height as-is, with the centuries of coal dust up in that cavity enclosed for another century or two.  But I just couldn’t take  knowing that there was a whole volume of space up there.. especially when the ceiling height was only a little over 8 feet (read: depressingly low).  So we tore down the existing plaster, hauled away the coal dust (the guys are still complaining about that one), and finally cob blasted the joists.

Joists before:  (blackened from years of soot)

joists before

And a million pictures of the joists now      because… just looooook at them!!!

second floor joists

second floor joists 2

second floor joists 3

second floor joists 4

That last one was the neatest discovery… look at how the beams are joined together around the chimney.  Everything was so nasty before the blasting that I seriously didn’t even notice details like that!  They sure don’t make ’em like that anymore.

Well after this post we’re roughly half way through construction!  Soon all the rough-in and prep will be finished and the guys will be able to start closing walls in…  so that will be another major jumping point.  I can’t wait to share that one  =)

Treehouse Weeks 4 & 5: decisions decisions

There has been a lot going on over at Treehouse, but not a whole lot to take pictures of. The plumber, electrician, and HVAC guys all got started roughing in their stuff.  The bills have been huge, but the visual progress… not so much.  What I do have to share with you are the apartment layouts coming together, as well as a little question on the kitchen design… check it out.

First Floor Apartment Bedroom Framing:

Opening the bedroom up to the living room to get a better flow of space… we haven’t cut in the double doors but I drew them in so you can get an idea of the idea…

1st floor bedroom_noted

First Floor Apartment Living Room Framing:

One of the heartbreaks was having to accept that this chimney is too far gone to be exposed… so this week it got framed in.  We’ll have to figure out a cool way to finish this wall instead of just drywalling it… stay tuned for that one.  We also furred out the wall so that we can add insulation to this place.

1st floor framing_noted

Second Floor Bedroom Framing

This bedroom was uncomfortably gigantic, so I added in two walk-in closets at the entry.  It will separate the bedroom from the living space, as well as add a ton more storage.  Also framed in is the door to the new in-unit laundry room!

2nd floor framing bedroom_noted

Second Floor Living Room Framing

Not a whole lot of framing at the second floor… just the furring out of walls for insulation.  It snowed yesterday for the first time this season, so the frigid temperatures are making this seem like an amazing idea.

2nd floor framing

And now it’s kitchen time…

I have been working with the kitchen designs and have the general layout decided.  The only decision left to make is… how many cabinets are enough?  Weigh in please and let me know what you think!

Option 1: keep it simple

kitchen option 2

Option 2:  storage galore

This is the same general layout as the above option, but I added a row of up-high cabinets.  They are high enough that they are really only practical for storing things you don’t use a whole lot.  But… in a kitchen you always end up with a ton of that crap.  It could also be used for any kind of storage really… not necessarily kitchen related.
I also added two under-counter cabinets next to the stools at the island.  You don’t lose much seating space but you do gain a little more storage.  Because I try to stay away from traditional wall cabinets, you do kind of need to take that extra storage into consideration…

kitchen option 1

So what do you guys think?  Without all the extra cabinets, the look is much lighter… and I do like that.  Without them, you have enough storage for a basic kitchen, but in a kitchen more storage is always a plus.  Of course the major con of adding more cabinetry is the added cost for purchase and installation, which could be about $1,000 per kitchen.  So that might be my answer right there…   Cast your votes please!

Treehouse Week 3: tiny heartbreaks

Every project is a journey of ups and downs.  Sometimes when you tear old wood paneling out, you find treasures… other times you just find a mess.  Sometimes your ideas work out and other times, the city shakes their finger at you for having such naughty thoughts.  It’s all part of the adventure… so here are the highlighted heartbreaks of the past few weeks:

OUTSIDE HEARTBREAKS:

Here’s what the back of the house looked like pre-demo:

back before

Here’s a little sketch of what my plans are:

back render marked

And here’s what The City has to say about that (marked in red):

1)  The City says:  NO HORIZONTAL RAILINGS.  You know all those railings you see in the magazines and on fancy houses?  Totally not code compliant, at least not in the city of Pittsburgh.  Reason?  A child could climb it like a ladder.  I was pissed about this until someone pointed out that my dog also could probably climb this.  The designer part of me hates that, but the part of me that doesn’t want my dog to plummet to her death?  That part understands.  Mostly.

 2)  I am replacing the old crappy very small porch with a bigger usable deck.  The City also says that my new deck has to be 3 feet away from the property line.  Even though the existing one is right up against it.  Only way around this is to get a zoning variance.  Which I am totally trying for.  Stay tuned for details on that process…

3) The City also says that my new air conditioning units have to be 6 feet away from the property line….. thus putting them at the corner of the house.  Yuck.

AND THEN THERE ARE THE INSIDE HEARTBREAKS:

all transoms

I wasn’t planning on tearing out all the original plaster, but with the haywire electrical and other oddities going on in here, we decided to go the whole 9 yards and gut this thing pretty much to the studs…. thus revealing a ton of TRANSOM windows.  That’s kind of heartbreaking because I would have loved to open those up again.  Sadly, opening the transoms would be going backwards and I just can’t afford that.  The previous owner installed brand new windows  and brick veneer only a few years ago.  It’s definitely not what I would have done, but I also just don’t have the money to backtrack.  Boo.

bad chimneys

If you read the last post, you saw the general layout for these apartments… which is a bedroom at one end with a large open kitchen/living space that is divided by the chimney at the other end.  In general, the chimneys in the house are all fine… except the one in the 1st floor unit… which is really in terrible condition.  Like, really bad.  If I had unlimited dollars I would rebuild the chimney.  Buuuut I have to draw the line somewhere.  We’re going to fix it so it is at least not falling down, but it’s not going to be pretty.  So, no exposed brick in the living/kitchen downstairs.  I’m thinking tile instead?

And that’s it for the breaking of hearts… I’ll leave you with a few shots of demo porn so you can see what the place is looking like in general.

AND FINALLY JUST A LOOK AT WHERE THINGS STAND:


Downstairs Bedroom Looking Towards Living Room

downstairs demo

Upstairs Bedroom Looking Towards Living Room

upstairs demo

Treehouse Week 2: stairs to nowhere

Well we’re in Building Permit limbo again…  all work has stopped until we have that piece of paper in hand.  In the meantime, we’re pondering some layout decisions.  In other words, help please?  =)

Now that the place has been opened up, I am rethinking some of my original plans.  Especially the stairs to nowhere…

STAIRS TO NOWHERE 1

Yep.  In the front door, up the stairs, turn the corner and…  The stairs to nowhere.  See originally this was a single family house.  So the stairs at one time led to a hallway with doors to the bedroom and a bathroom.

But when this little place was turned into apartments, they put a wall blocking off that hallway.  Now that we have torn that wall down, you can see how the space worked once upon a time:

hallway before

hallway 1

Pretty cool, huh?  Pictures don’t really do it justice- this hallway is a really nice space.  There is a large window (behind the photographer) that looks out onto a big tree (the house’s namesake) and a new deck you are sure to hear a lot about very soon.

Originally I was planning on keeping the layout kind of as it was… except the stairs to nowhere would be stairs to a coat closet.  A laundry room is next to the bathroom and both are accessed from the bedroom, thus eliminating the hallway altogether.  A little less weird but still kinda weird, I admit:

OPTION 1: LOSE THE HALLWAY

BATHROOM OPTION 1

After we opened up the hallway and I realized how nice it was, I kind of feel bad about closing it off again.  So the guys and I came up with a little alternative option. In option #2, the hallway stays and functions pretty much as it did when this was a single family home.

OPTION 2: KEEP THE HALLWAY

BATHROOM OPTION 2

So now I need to make a decision.  Standing in the space, I was sure that keeping the hallway was the best option.  Now looking at it on paper I feel the opposite.  What do you think?  Pros and cons of each:

OPTION 1:  LOSE THE HALLWAY
Pros:
– Eliminates the hallway… direct access to bathroom is a plus
– Bathroom layout is better… room for a full size tub or walk-in shower
– More storage space is always good… coat closet & a spot in the laundry for linens
Cons:
– Guests have to walk through the bedroom to get to the bathroom
– Lose the “open” feeling

OPTION 2:  KEEP THE HALLWAY
Pros:
– Keeps the hallway… the open feeling is really nice
– Guests can go through the hallway to go to the bathroom
Cons:
– loss of closet space
– stairwell basically becomes part of the apartment.. which means heating and cooling that whole space
– bathroom layout not as great- there is only room for a 36 x 48 shower.  No tub.  Not the end of the world but not ideal either…

Weigh in and help me decide, friends!

Treehouse Week 1: complete gut!

Usually I wait to get the pictures from a full week to post, but…   I just can’t help myself.

We wrapped up construction on the last place a whole year ago.  Can you believe it!?!?  Have you missed us??  Well we’re back, with a really cool and very different project. We finally got started over at “Treehouse,”  AKA a duplex in Lawrenceville, where Ossie and I stuck it out for a year while waiting for the other building to be finished.

What have the pup and I been up to, you ask?  Well for me, working.  A lot.  For her, lounging.  You know how it goes…

also:

  • Our 3rd Floor Loft was featured on the PGHBOX site in June.  This space will be available for rent in January so keep your eyes peeled! Or hit me up if you want to get in on it early…
  • We got a grant through Lawrenceville Corporation to fix up the facade over at “Treehouse.”  That project is almost done and really deserves its own post so you’re going to have to hold your horses and wait for pictures of that one.

Now that business is out of the way, check out some amazing reveals over at Treehouse.

UPSTAIRS UNIT:

Hallway:

hallway progression

Originally, this was a single family home that sometime in the 50’s (my guess) was turned into a duplex.  Not much was done to change the layout of the home other than a wood paneled wall put up (right on top of the carpet) to separate the upstairs unit from the hallway.  With that wall torn out, it’s been really neat to experience this house as it was originally intended.  My plans were to keep it blocked off, as it will remain a duplex.  But there is a small part of me that would really love to keep it open.  Pros:  it feels right.  Cons:  Having to heat/cool the entire stairwell as part of the apartment, loss of closet space.  Thoughts?

Bedroom:

bedroom progression

Got rid of all the paneling (whew what a relief!)  and exposed the chimney.  The contractor decided while we’re at it, we might as well strip all the walls down to the studs- which I am delighted with but wasn’t expecting to do.  It’s definitely going to yield a better end product though!

Living Room:

livingroom progression 1

livingroom progression 2

This is the room I am the most excited about… We are opening it up so that the kitchen/ living room will be one big open space with the chimney dividing the two… and also opening up the ceiling and leaving the joists and rafters exposed, leaving us with a ceiling that is vaulted on one side a good 14-ish feet high!

livingroom 3c

Close up of the living room chimney and slanted roof

livingroom 2c

And in case you missed that fireplace guard… Sweet huh?

ON TO THE DOWNSTAIRS UNIT:

Bedroom:

bedroom progression

bedroom progression 2

This unit has always kinda creeped me out for some reason… so it was nice to see the wood paneling and dropped ceiling finally go. TO REVEAL 3 FEET MORE OF CEILING!  And another chimney unveiled.  I see some brick exposing in my future  =)

Living Room:

livingroom progression downstairs

Same plan down here as for the upstairs unit… the living room/ kitchen will be one big open room with the chimney separating the two.  Like I said… definitely time to break out the hammer drill!

There you have it for week 1.  Mos of the work was getting rid of all the bad 50’s-60’s decisions and opening the place up a bit.  I said this at the loft bulding, and it happened again over here.  I seriously could feel this little house breathing a sigh of relief.  The original spaces are so well designed, with the proportions just right.  The place feels good, even if it is in a state of demolition that would make your parents cringe (hi Dad!)  Don’t worry.  It has to get worse before it gets better and we’re headed somewhere really great with this here Treehouse.

Introducing: treehouse

As promised, here is a set of before photos of our upcoming project I am dubbing “treehouse.”

Just in case you were thinking this renovation thing is glamourous and cool, keep in mind while you scroll through these  photos that Ossie and I lived in this place. For a whole year. Pretty much just as you see it now.  We have, for the most, part recovered…

I bought this duplex from a very nice suburban type developer guy who had purchased it as one of his first investment properties in the 90’s.    It was nicely kept (until I bought it and tore all the finishes out) and he did what some would think was a nice job fixing up the exterior.  It’s a little too suburban-y for my tastes, but we’re going to fix some of that.  There is a lot of stuff I can’t wait to get rid of and some cool details that somehow stuck it out through multiple bad 50’s and 60’s wood-paneling escapades… most of which I am trying to keep.

You may also notice that the entire first floor is not pictured.  There is still a tenant living in there, but as soon as he’s out I’ll add them to the pot.

Anyway I’m finalizing the design and definitely have a few conundrums for you guys to weigh in on… hang tight!

A New Project!

Well friends… have you missed us?  We’re just about to start a new project, again in Lawrenceville.  This is a bit smaller than the last but is shaping up to be pretty awesome.  Here’s a little preview:

Some of you may recognize this place, as it’s my actual house.  Ossie and I lived there for a year in the 60’s flashback cat pee infestation that it is (and soon to be was)  This is a duplex- with one apartment upstairs and one downstairs.  Just wait until you see the set of “before” pictures…  Until then, here is a sketch for the facade renovation portion I’m doing with the help of a grant through the Lawrenceville Corporation.

where we are:

45th street before

aaaand… where we’re going!

45th Street 3D 4

Stay tuned for a full set of “before” pictures to get this thing officially rolling  =)